An organization can improve staff management by using all employee-related information. The personnel files must thus be kept in meticulous condition because they serve as proof of crucial facts, deeds, and customs. A useful tool that enables users to manage employee-related papers such as certificates, job descriptions, resumes, passports, licenses, appraisal reports, and more is the Employee Document module created by the OpenHRMS suite. All of these important documents are significant not only for the HR department but also for the expansion of the company. Based on the policies and needs of each organization, the HR documentation must be completed carefully.
For its users, the OpenHRMS suite provides a clear Employee Document Management module.
Customers can utilize the Odoo16 App Store to install the module. The module will show up when searching for the name in the search box. Then install the Employee Document Module into the system by clicking the Activate button.
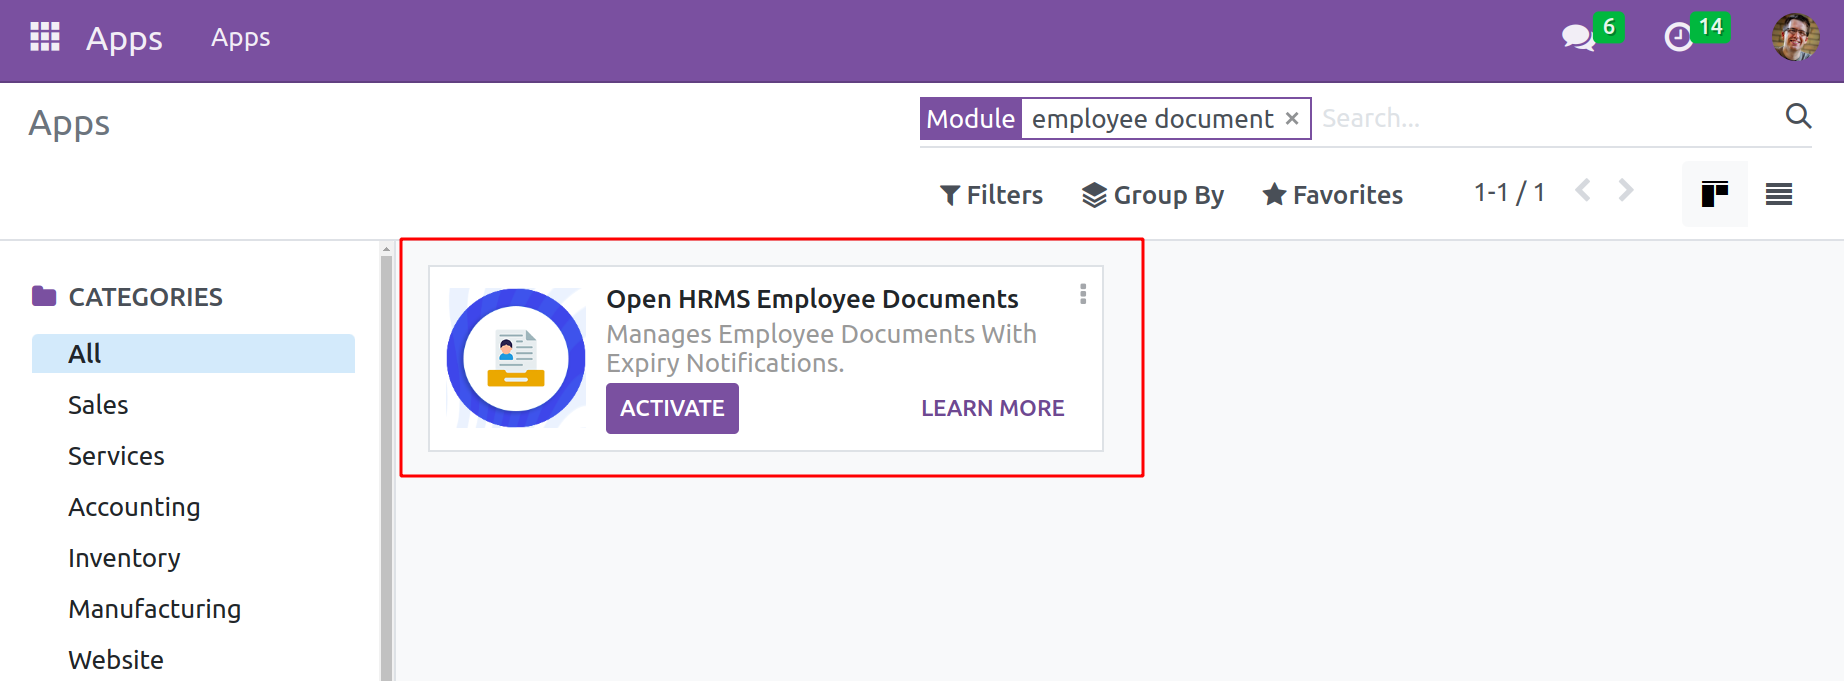
The OpenHRMS Employees module will have the capabilities and resources necessary to manage employee papers after it has been installed.
Employee Document Types
Open the Employees module now. The Employee Document Types option can be found here on the Configuration tab.
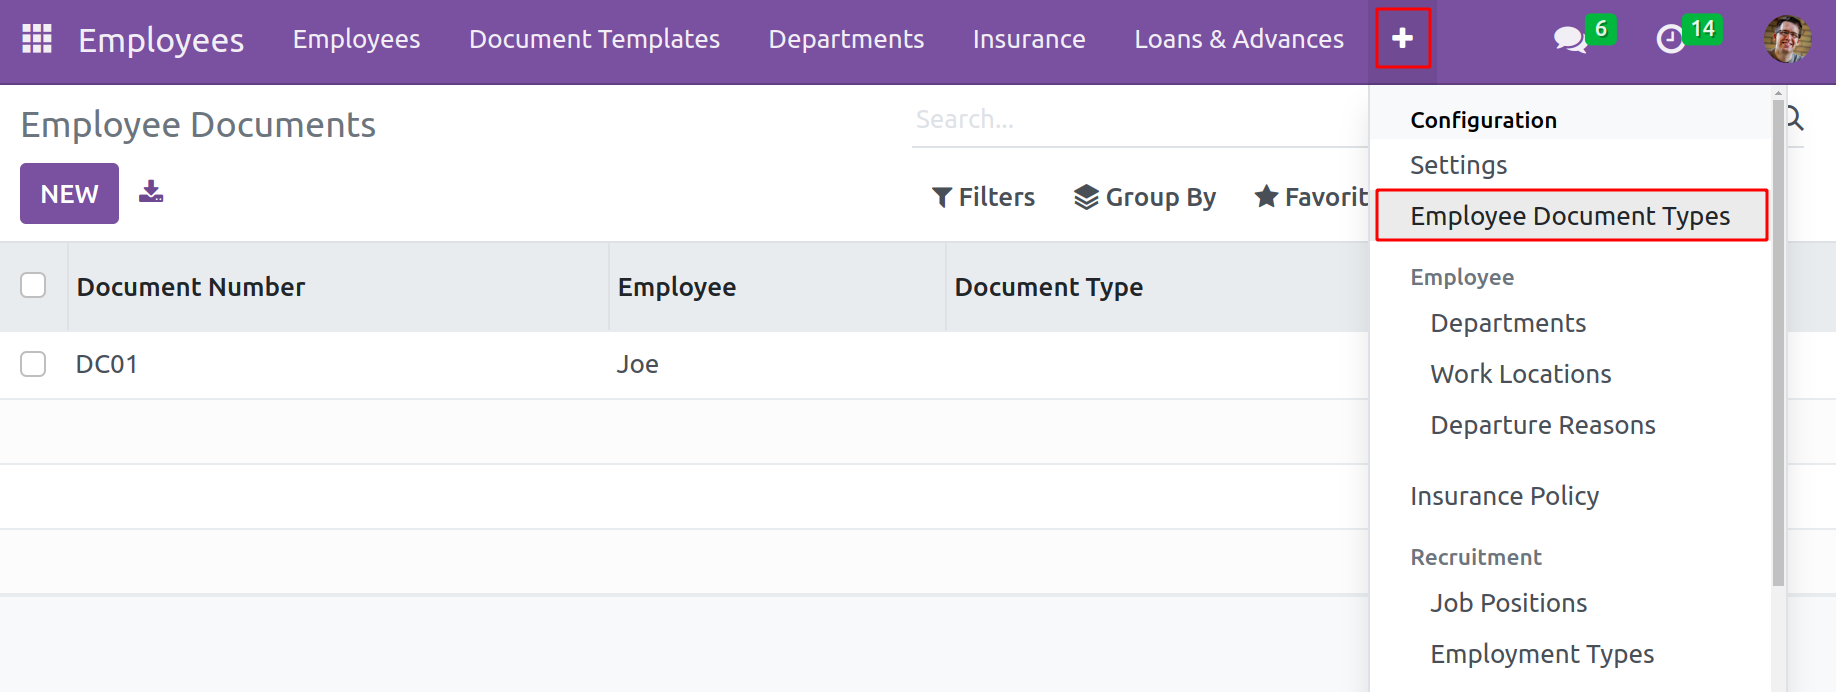
The Employee Document Types menu icon allows users to enter the Employee Document Types window. This window manages all the configured document types and will exhibit the preview of all already configured document types. Here, the screenshot shows various document types such as Driving Licences, passports, ID Cards, and many more aspects. It is also very simple to create a new document type.
Users just need to click on the Create button on the top. Now it will be able to create a new one in the displayed space. Using this document types menu, it is possible to configure various document types which the organization requires.
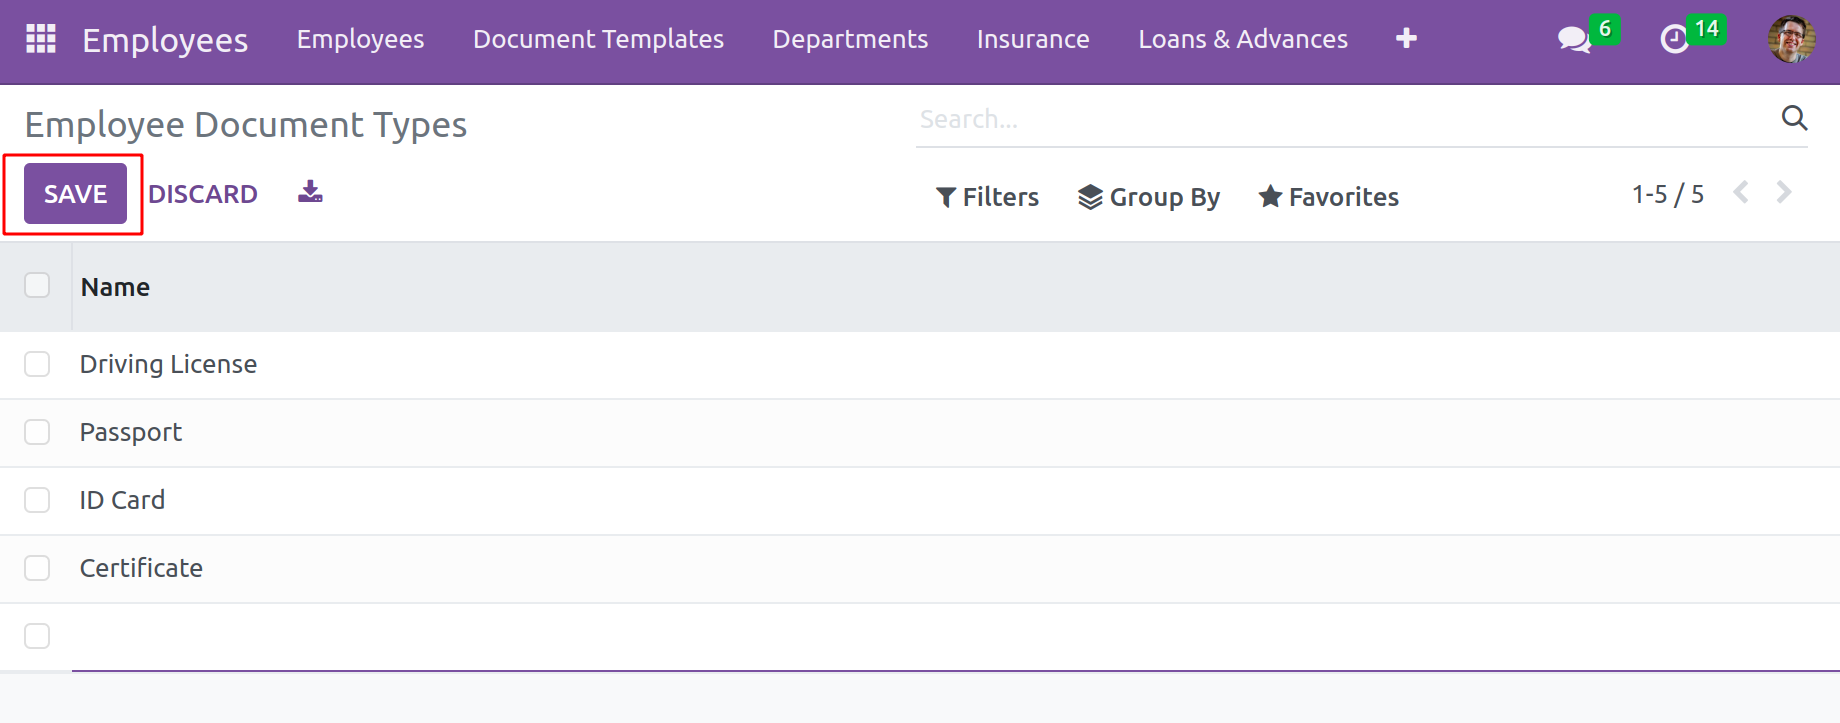
Users can access the Employee Document Types window by selecting the Employee Document Types menu icon. This window controls all of the specified document kinds and displays a preview of each type that has previously been set up. The screenshot seen above has numerous different documents kinds, including a driver's license, passport, identification card, and many others. Making a new document type is also quite easy. Simply click the Create button at the top for users. It will now be able to build a new one in the visible area.
It is possible to configure different document kinds that the organization needs using this document types menu.
Employee Document
A different menu for handling documents is managed by the Employee Document module of OpenHRMS,
in addition to this option. Users can create documents for the
staff using this option. Go to
OpenHRMS -> Employees -> Employees ->Documents to view the Document menu.
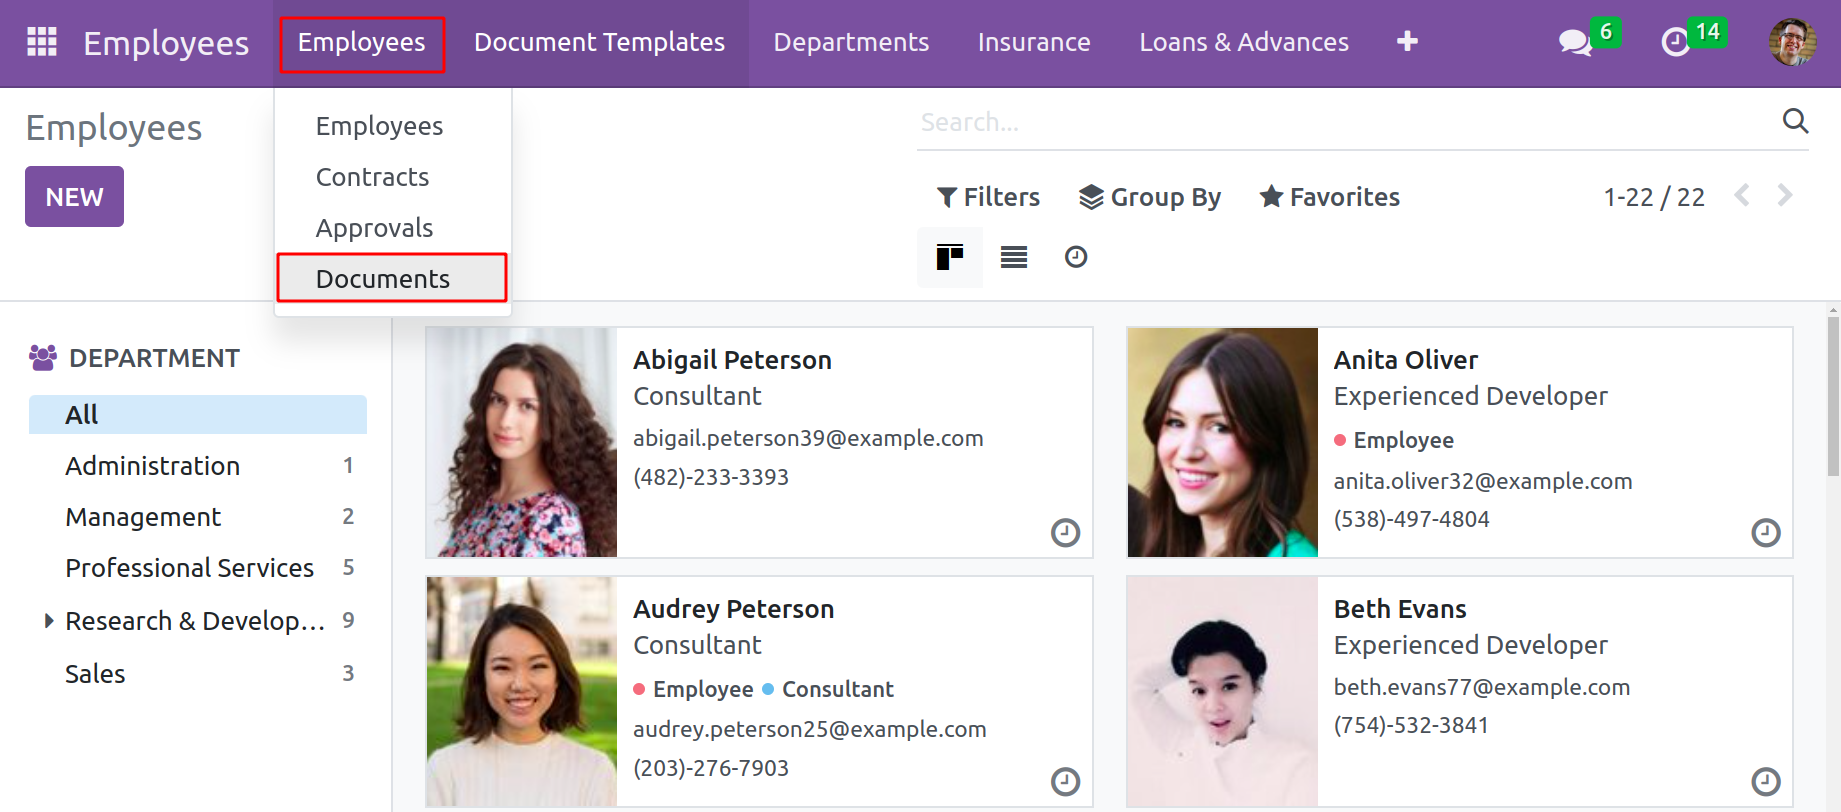
This option is particularly helpful for managing employee documents because it shows all
of the employee documents that have previously been created in the system. We are aware
that when working with employees, several significant paperwork and documents must be kept
in mind. Additionally, all of these records must be kept meticulously and cleanly. The OpenHRMS
Employee Documents module offers a dedicated platform for managing documents and gives managing employee documents a high priority.
Furthermore, it is more convenient and safe because of its digital document-keeping method.
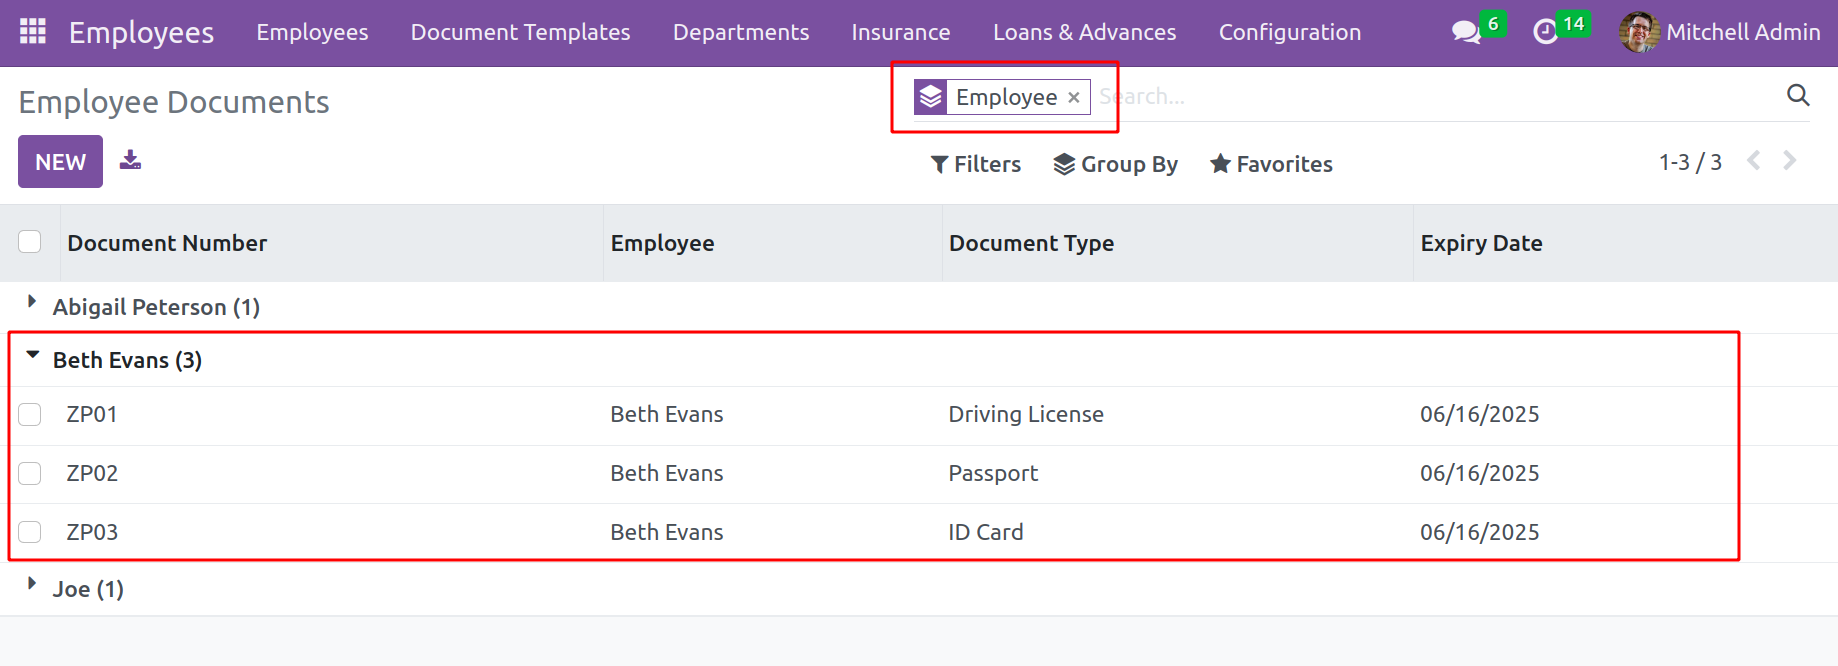
Turning to the Employee Document window, users may view the 'employee' group by option under the Group By tab. The documents can be categorized according to employees using this default option. The window will appear as seen in the image below if users choose the Employees option to categorize the list.

Now, by selecting the appropriate employee, they can retrieve the paper. It is quite helpful, especially when users have a lot of papers to manage, and it makes it easy to rapidly access the necessary documents. Simply click the employee's name, and the system will show all the documents related to that specific individual, as seen in the image below.
For instance, users can just click on this information if they wish to examine a paper belonging to employee, Mr. Beth Evans. All of the documents connected to him are now shown by the system as opened below.
Additionally, the platform's Add Custom Filter and Add Custom Group capabilities enable
further customization of Group By and Filtering choices.
Additionally, the Save Current Search And Import Records menus are located on the Favourites tab.

A New button and an Export All button can be found in the left-hand section of the
Employee Documents window, as illustrated in the figure below. To export all data into an Excel sheet,
use the Export All option. Users can generate new employee documents by clicking the generate button.

Let's say to click the NEW button, which will display an Employee creation window like the one below.
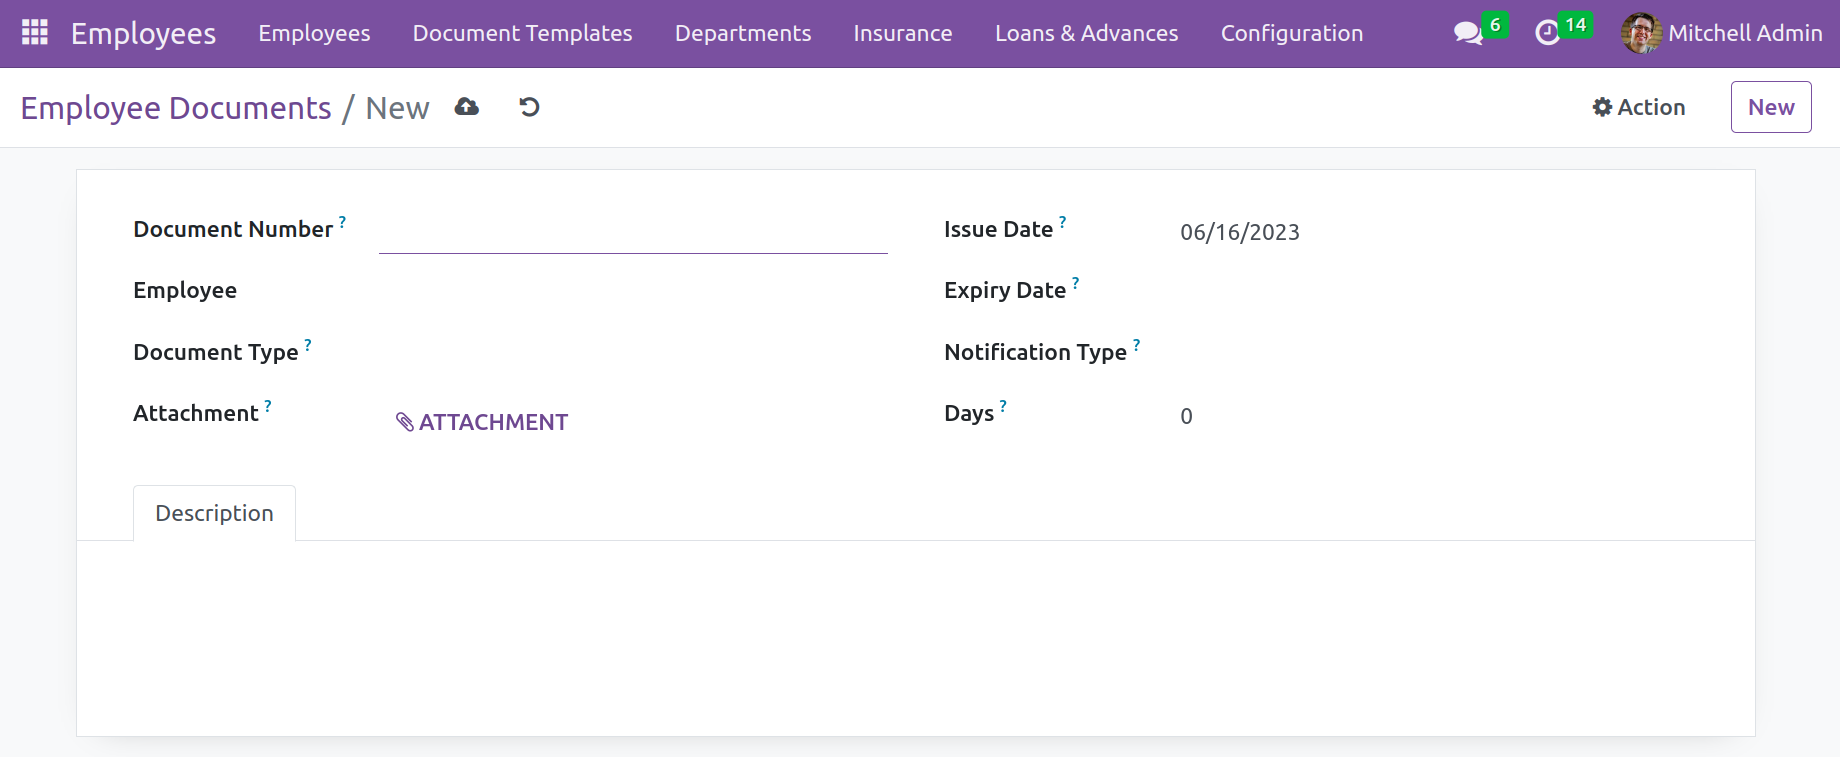
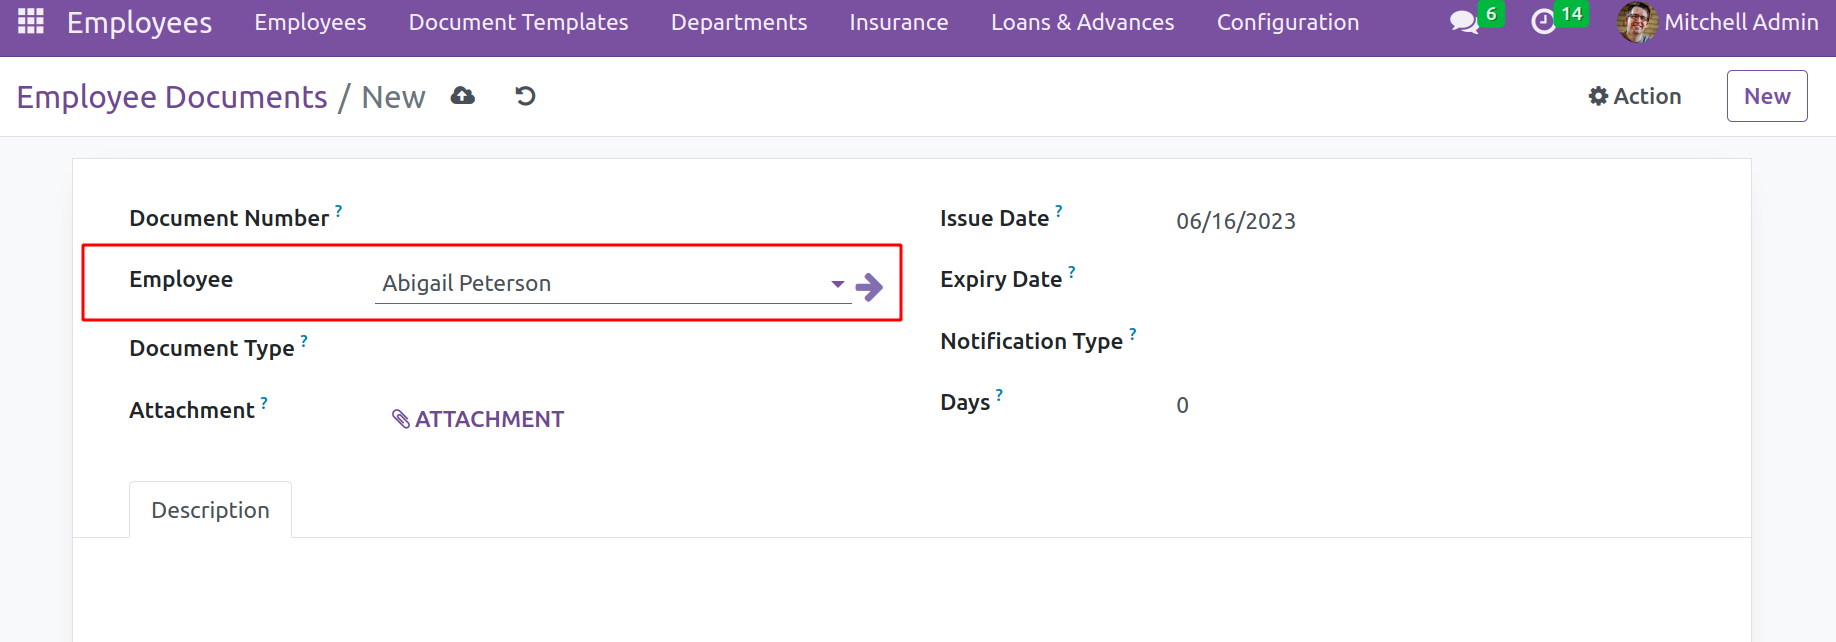
Users can enter the document number in the Document Number area. The Employee field's dropdown
menu can be used to provide the employee's name. The dropdown menu shown below will list all
of the specified employee names. Users can view
the employee's details by selecting the external link option, which is indicated by an arrow.
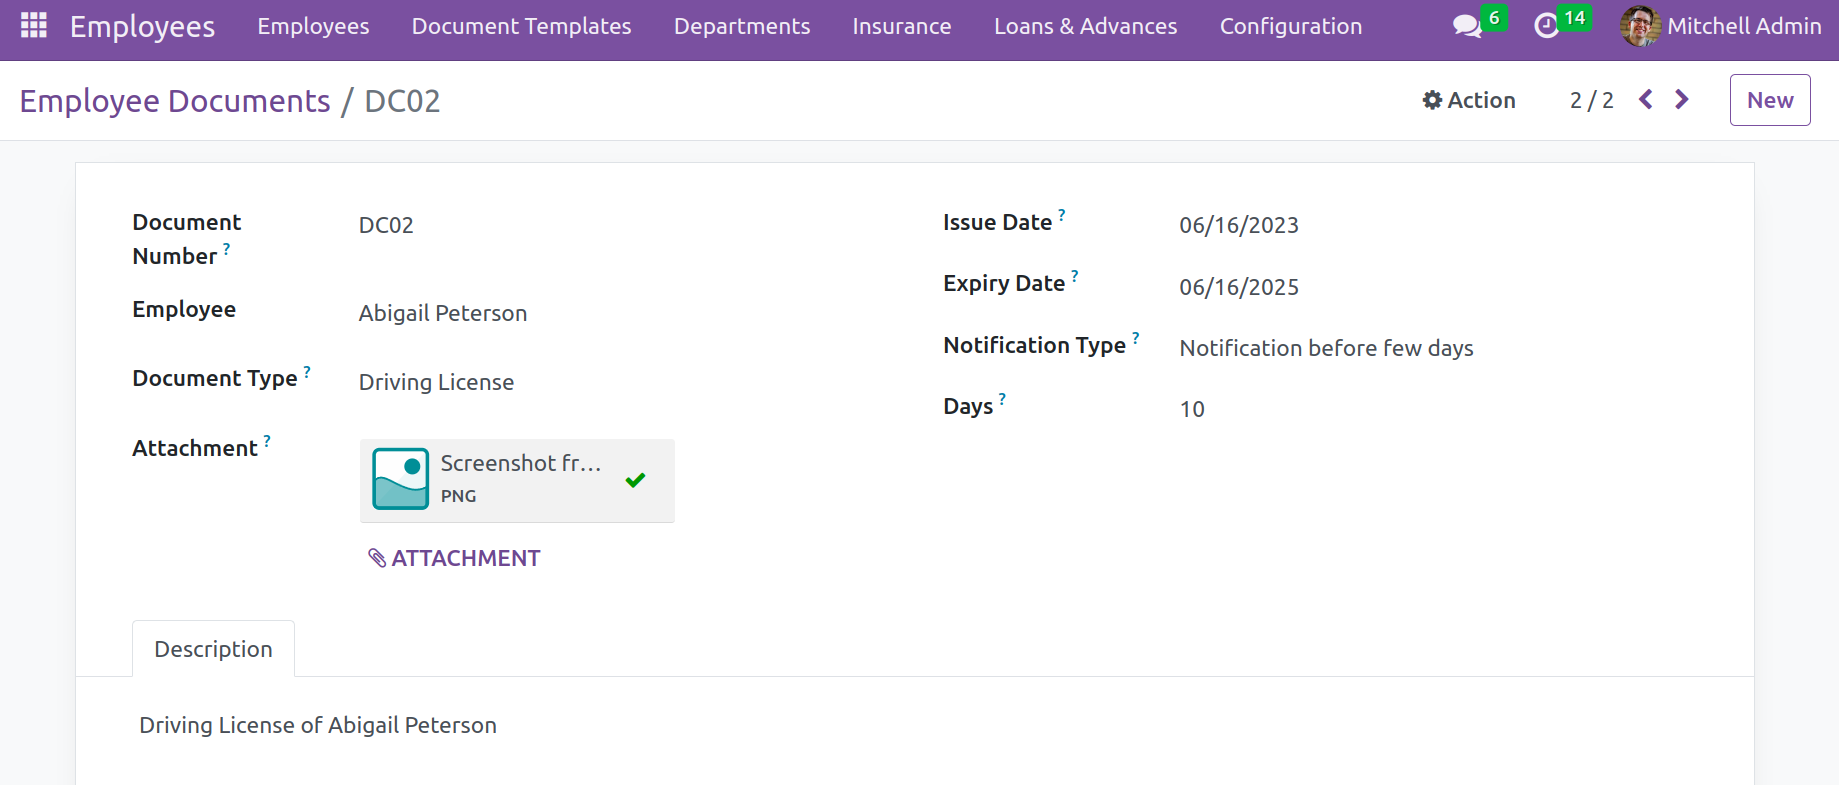
The user can choose the Document Type after defining the Employee. In the module's
Configuration tab, which we previously covered, the system provides a distinct menu
to configure multiple Document Types. The dropdown menu will list all of the configured
Document Types. By putting the document type here, one may also add a new Document Type.
Users can include a copy of the document in the Attachment area after specifying the Document
Type. Additionally, the fields labeled Issue Date and Expiry
Date can be used to provide the issue date and expiration date, respectively.
Following that, users have the option to choose the Notification Type.
The system here offers various notification types, which are outlined below.
Notification on expiry date:
Only the expiration date will trigger a notification to the employee.
Notification before a few days:
There are two ways that employees can receive notices. On the expiration day and a few days before the expiration date.
Every day till expiry date:
The number of days left until the document expires will be informed to the employees.
Notification on and after expiry:
Employees will receive reminders beginning with the expiration date and lasting for days.
Employees would receive a notification before the document expires seven days if the user did not pick any.

Users can choose an appropriate kind for the notice type and enter the desired number of days in the Days box to get the notification email. Last but not least, if applicable, add a brief description to the Description tab on employee paperwork. Once the user has completed filling out all the necessary information, save the newly formed document by selecting the Save option located in the window's
upper left corner. Users can produce a variety of documents for the staff by following these steps.
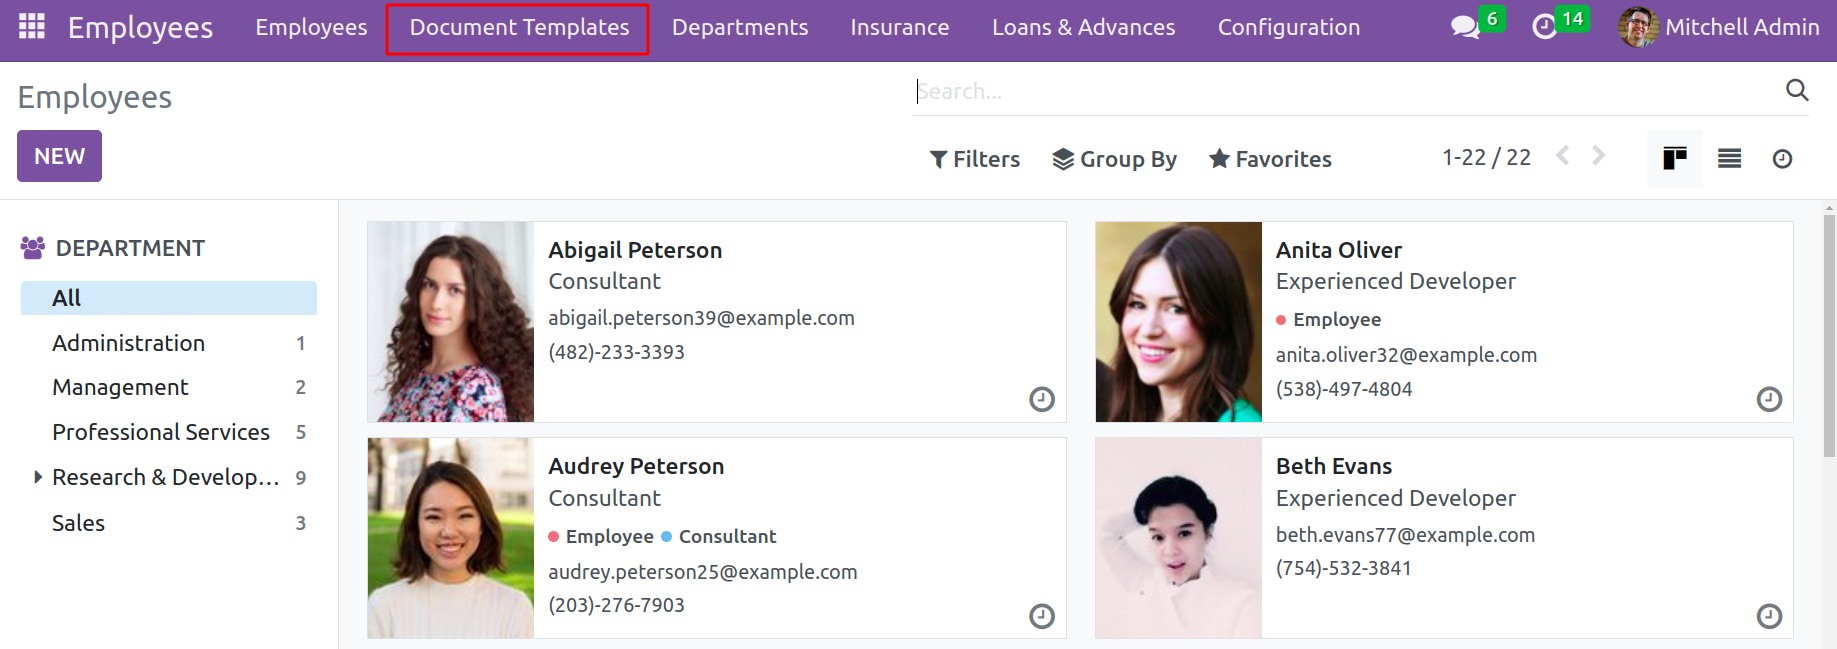
Document Templates
Let's go to the Document Templates tab next.
They are required to store certain documents that the business may need in the future, such as templates for wage packages, training guidelines, and documents of company policies and procedures. Since the document module is absent from community editions, we can utilize the documents template to store documents in the odoo community.
This allows you to create templates for a variety of papers and attach a file that can be downloaded for later usage.
The list of created document templates can be shown in that window. Filter, Group By, Favorite, and Search options are available there. To create a new one click on the New button, which opens a new window.

While creating a new one add the Document Name and Note. if there is any Attachment that can also be added there.

So when simply saying this Employee Document module will simplify the admin’s effort. This is the way to create and handle employee documents using this module.