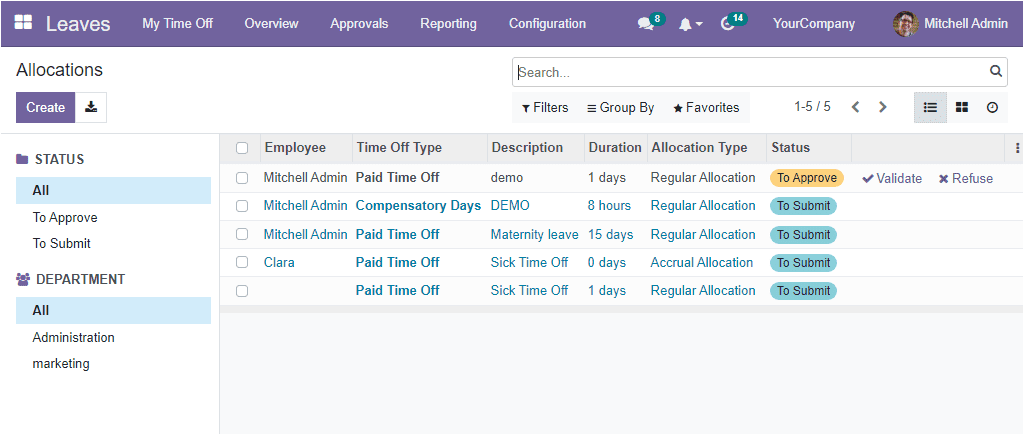
The Allocations menu allows you to navigate into the Allocations window. The Allocations window will look like in the image below.

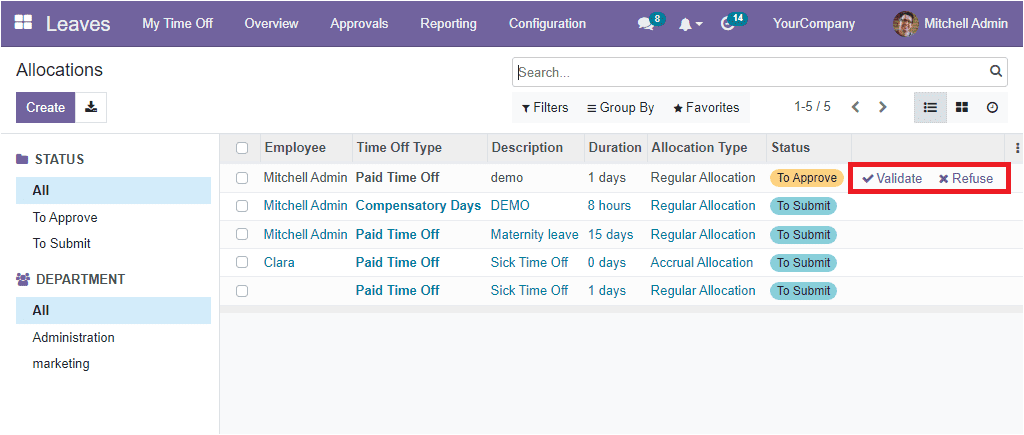
The Allocation window depicts all the allocations, and the responsible officer can quickly validate or refuse the allocation requests. Once the allocation request is come in the ‘To Approve’ state, a ‘Validate’ and ‘Refuse’ options will appear, as shown in the image below.

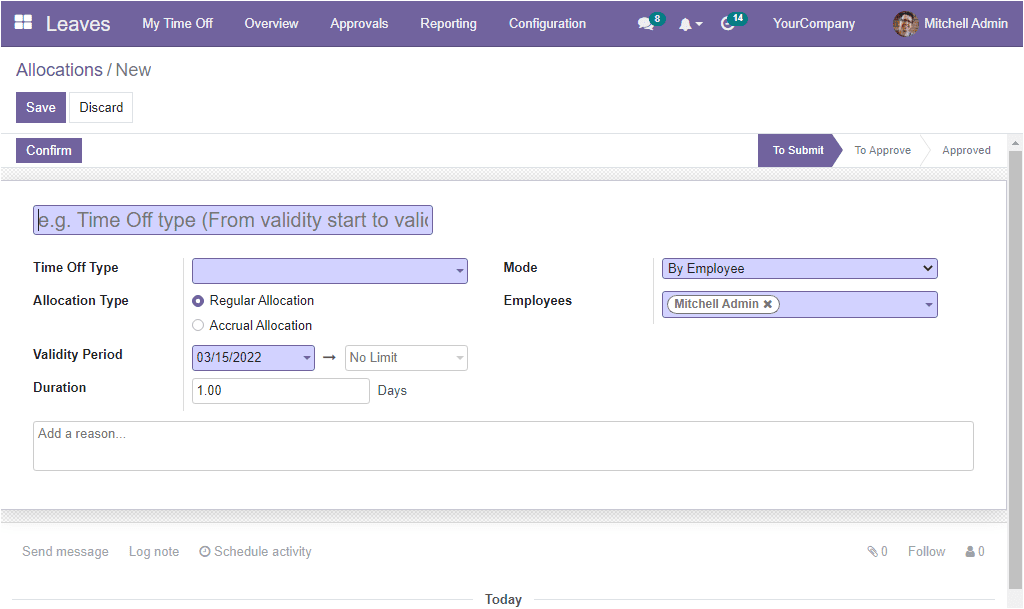
In addition, the Manager, or the responsible authority can easily create a new Allocation by just clicking on the Create button available on the top left corner of the window. The moment you click on the Create button, the system will change its display and depict a well-managed creation window for quickly creating Allocations.

The first field required to fill out is the name field, and here you can provide a suitable title for the new allocation. Then you can choose the appropriate Time Off Type with the help of the dropdown menu. The dropdown menu will list out all the time off types that are already configured in the system. Apart from the default one, you are also able to create a new one from here itself. Next, you can define whether the allocation is a Regular Allocation or Accrual Allocation in the Allocation Type field. Then the Validity Period can be mentioned along with the Duration in days. After that, you have different choices to create allocation requests in the Mode field.
The different modes described in the system are: choose the Allocation Type from the options
By employee: For a specific employee
By Company: All employees of the specified company.
By Department: All employees of the specific department
By Employee Tag: All employees of the particular employee group category.
Once you select the mode, you can specify the Employee, Company, Department, or Employee Tag in accordance with the Mode you selected. Finally, you can add a reason for this particular allocation request in the provided space. After giving all the information, click on the Save button to save the details.
It is clear now how to create and manage allocations in the OpenHRMS platform and now let us move on to the Configuration tab of the module.


