The Employee Info module embraced in the OpenHRMS platform will add a few additional advanced features to the Employees module. The tiny component can gather all the essential details such as employee family information, Joining date, passport information, ID expiry date, and more. Also, it is the right tool for sending expiry notifications to the employees to inform them that the expiry date of their passports and id must be verified.
This chapter will tell off all the information regarding the OpenHRMS Employee Info module.
First of all, let us list the important features of the Employee Info module.
- Provides a chance to collect and keep family information of employees.
- The module helps you to gather the contact information of the employees.
- It helps you calculate the employee's joining date based on the contract.
- Note down the passport and id expiry date.
- Provide expiry notification for employee passport and identification ID.
It is necessary to install the Employee Info module into your database to get the functionalities of this module. So you can go to the OpenHRMS App Store and collect the module.
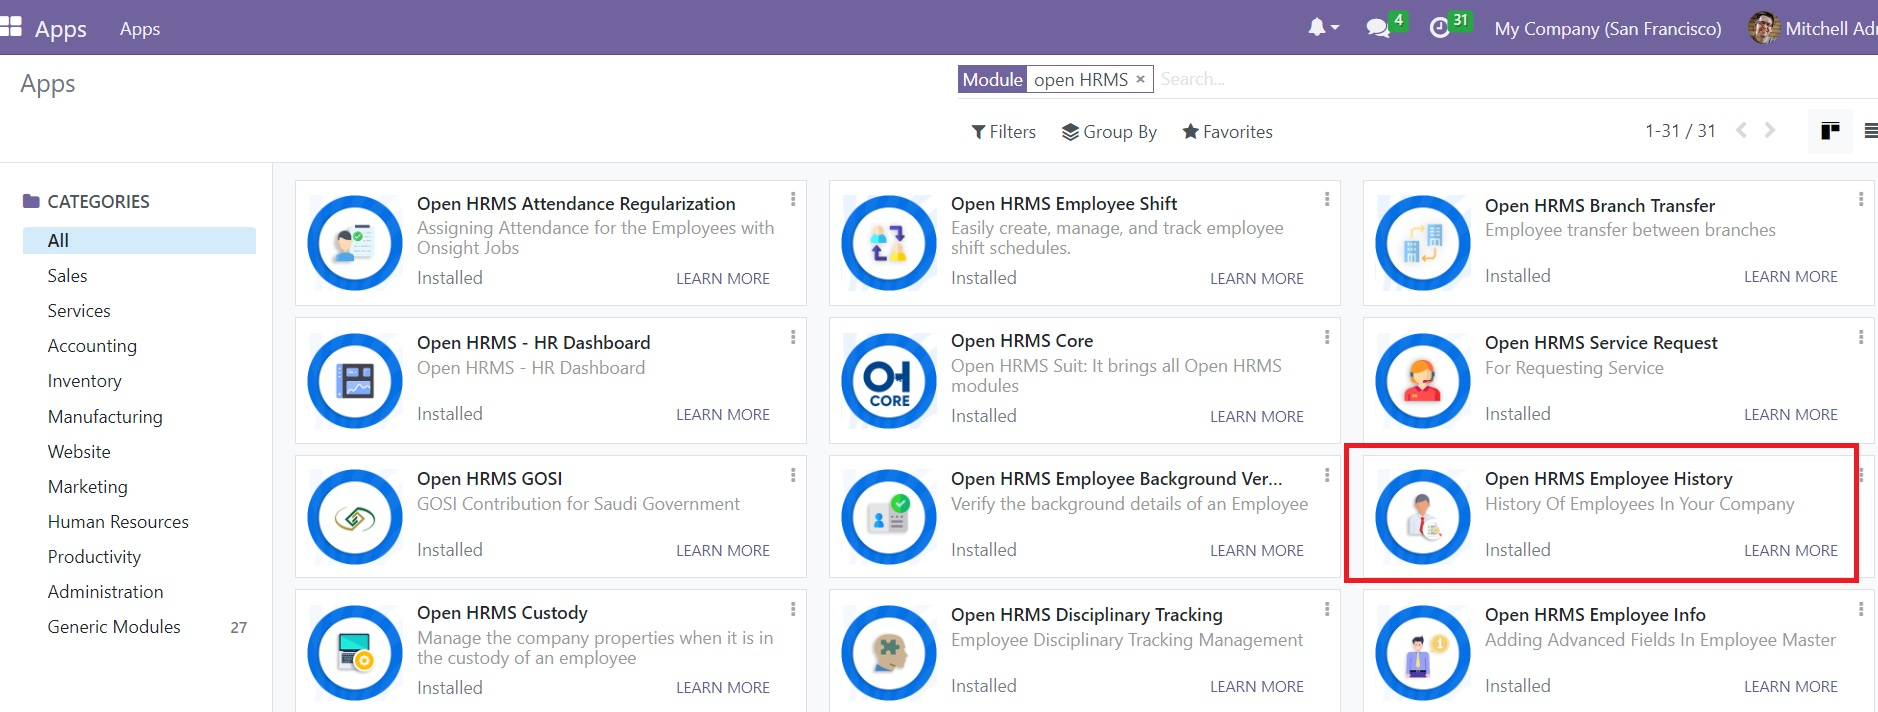
Once you install the module into your database, the functionalities of this advanced tool will be integrated with the Employee master. So let us open the Employee module.
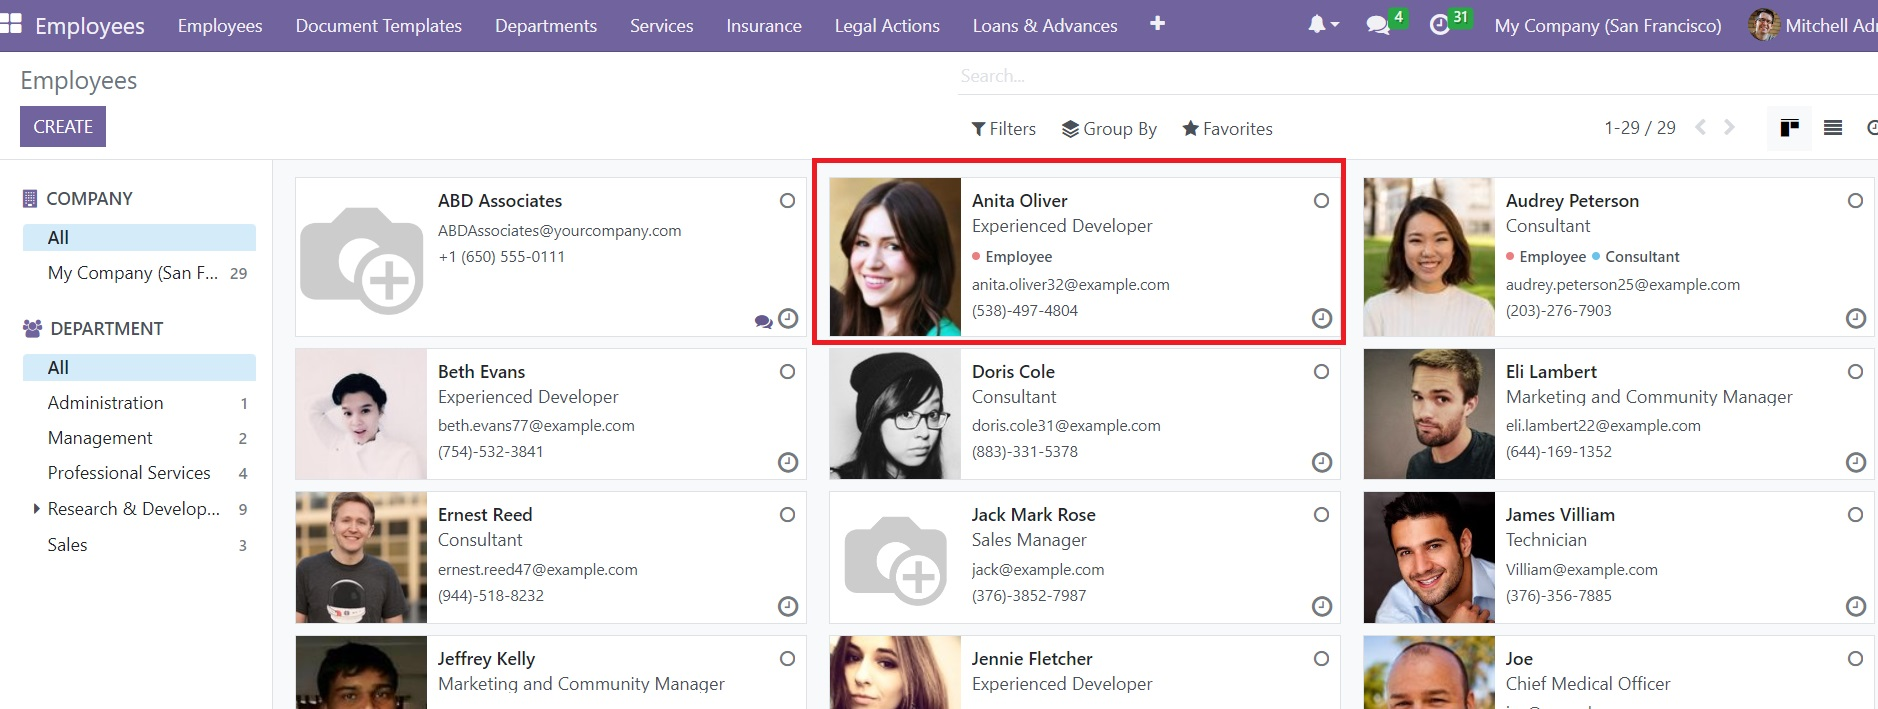
Now let us choose the employee Joe to view the extra features.
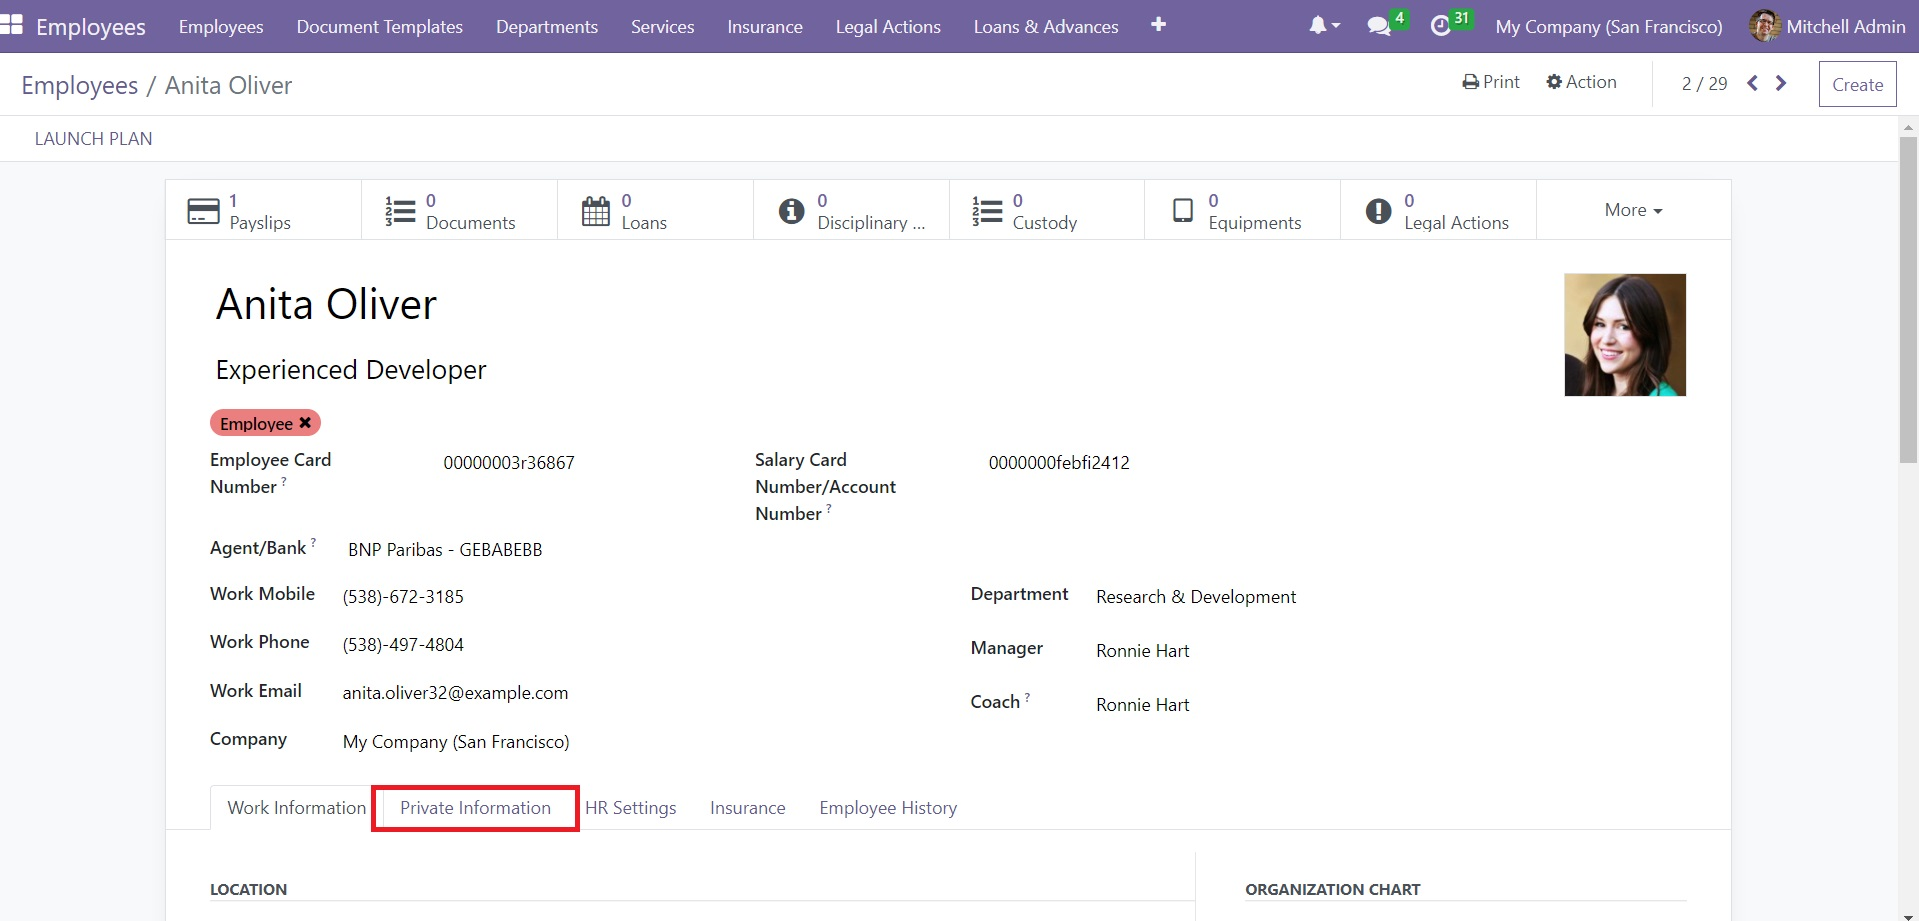
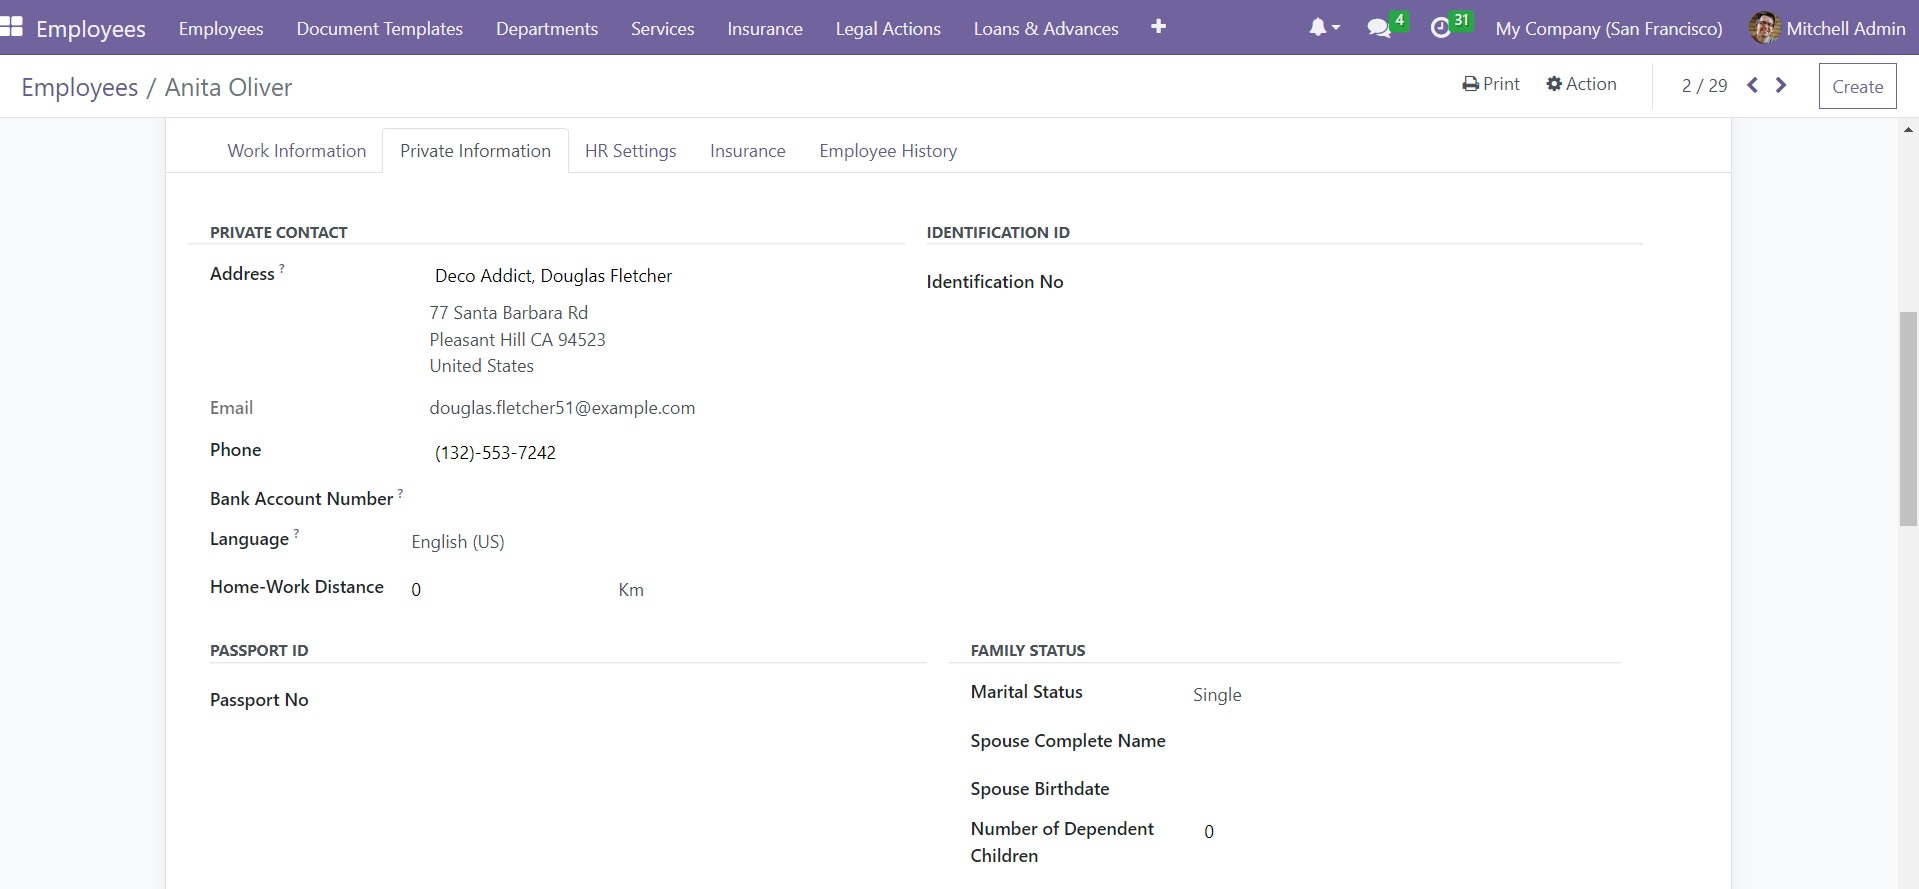
All the advanced fields will be added and displayed under the Private Information tab.
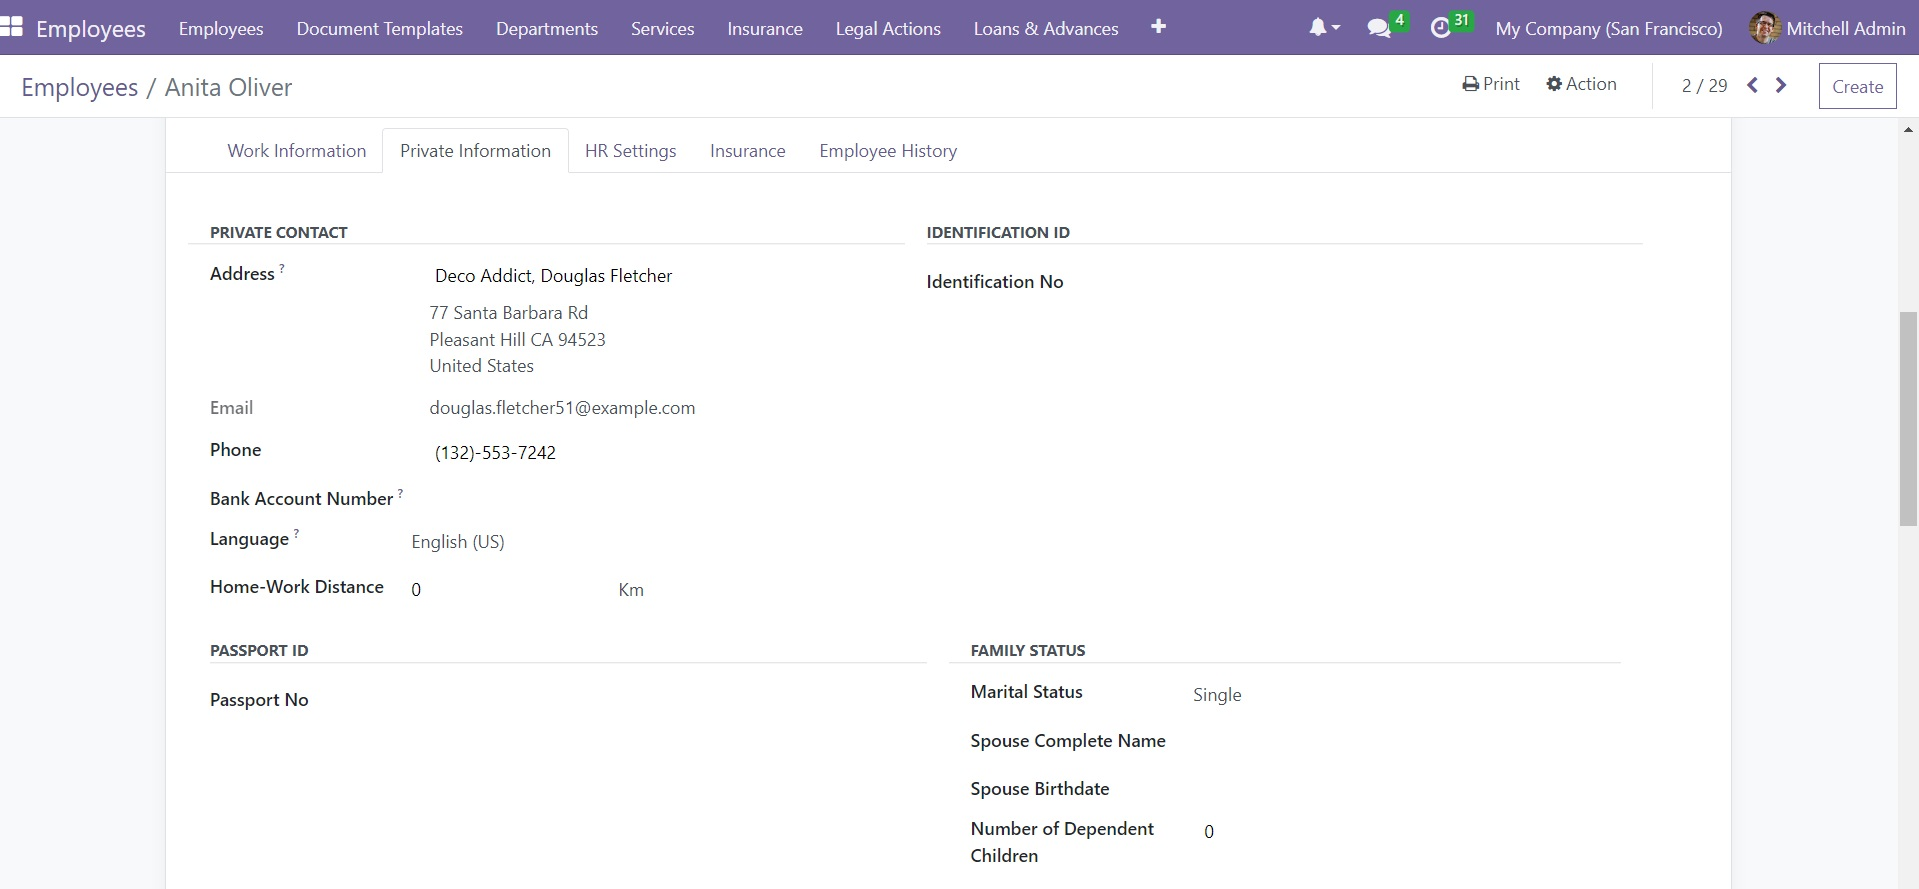
So, we can look over the Private Informationtab. This tab lets you keep the employee's private information, such as private contact information, emergency contact information, and more details. The new and extra fields displayed under this tab are the Identification number field to add identification ID. Also, the option for adding passport number, citizenship, date of birth, place of birth and other details. Let us discuss all the fields described under the Private Information tab below.
In the Private Contact section, you can allocate the private contact address of the employee in the Address field. Also, you can mention the Email address, phone Number, Home Work Distance in kilometres, and the preferred Language. By selecting the language, all the emails, messages and documents sent to this contact will be translated into this defined language. In addition, you can mention the Passport Number in the specified space. It is also possible to add the Identification Number in the given field.
The citizenship details such as Nationality(country), Gender, Date of birth, Place of birth, and Country of birth can be defined in the corresponding fields. Similarly, in the Marital Status field, you can fill in the employee's marital status, and the number of children can be specified in the Dependent field. Additionally, the Emergency Contact address and the Emergency Phone Number can be given in the respective fields.
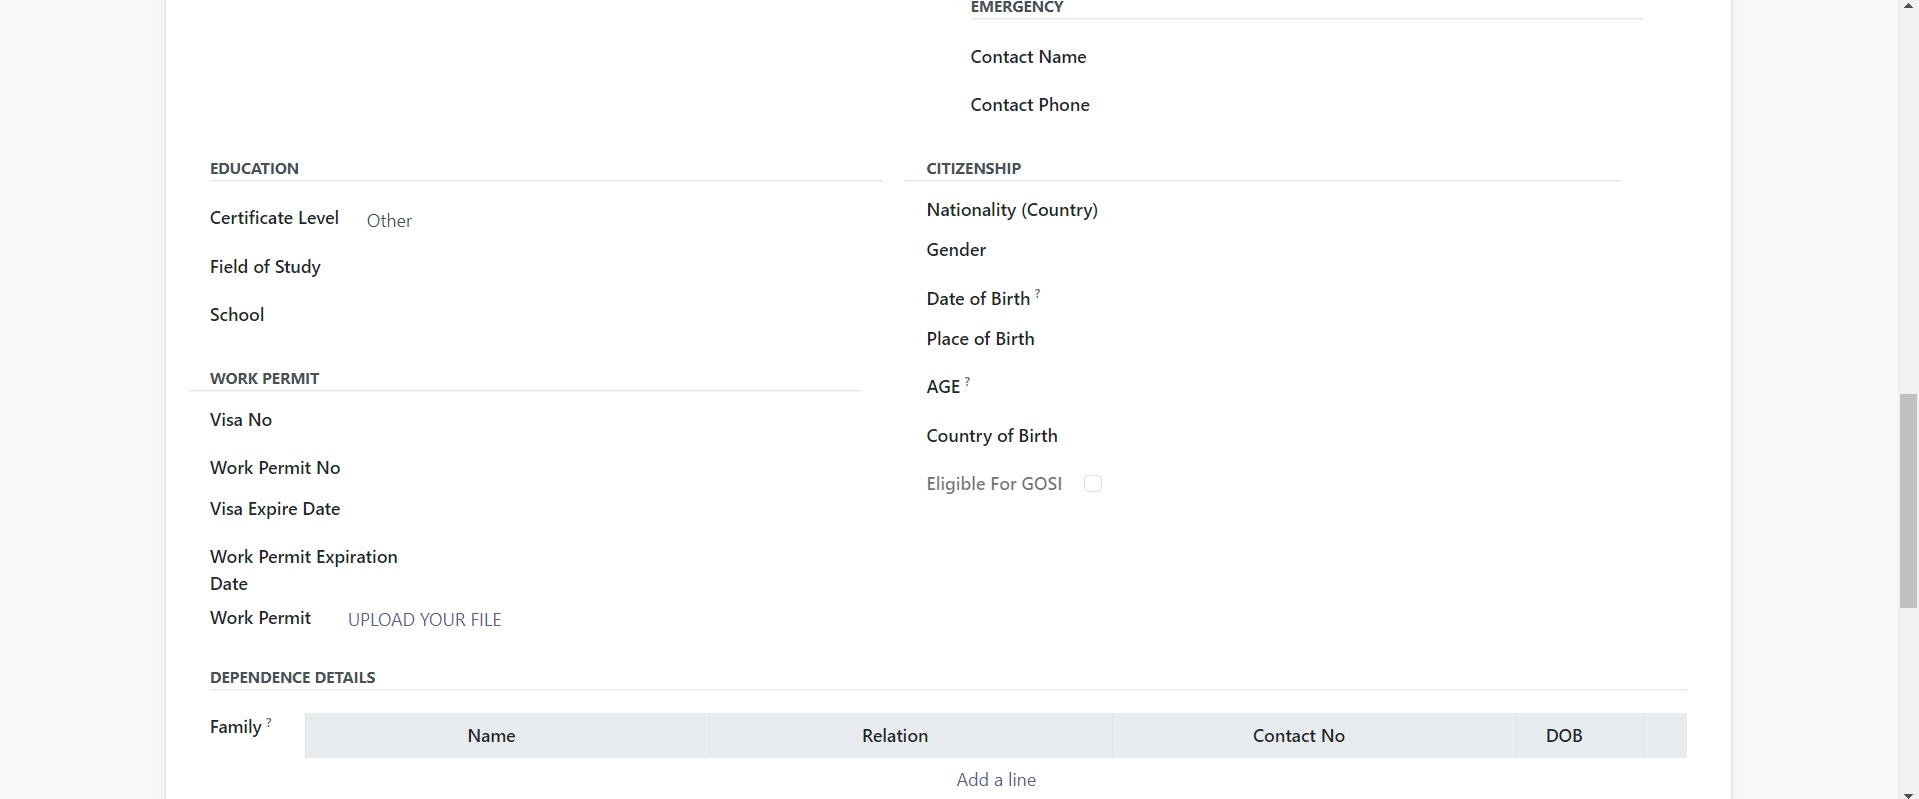
The details regarding Visa No, Work Permit No, Visa Expire Date, and Work Permit Expiration Date can be mentioned in the Work Permit section. Furthermore, you are able to upload the work permit of your employee by clicking on the Upload your file option.
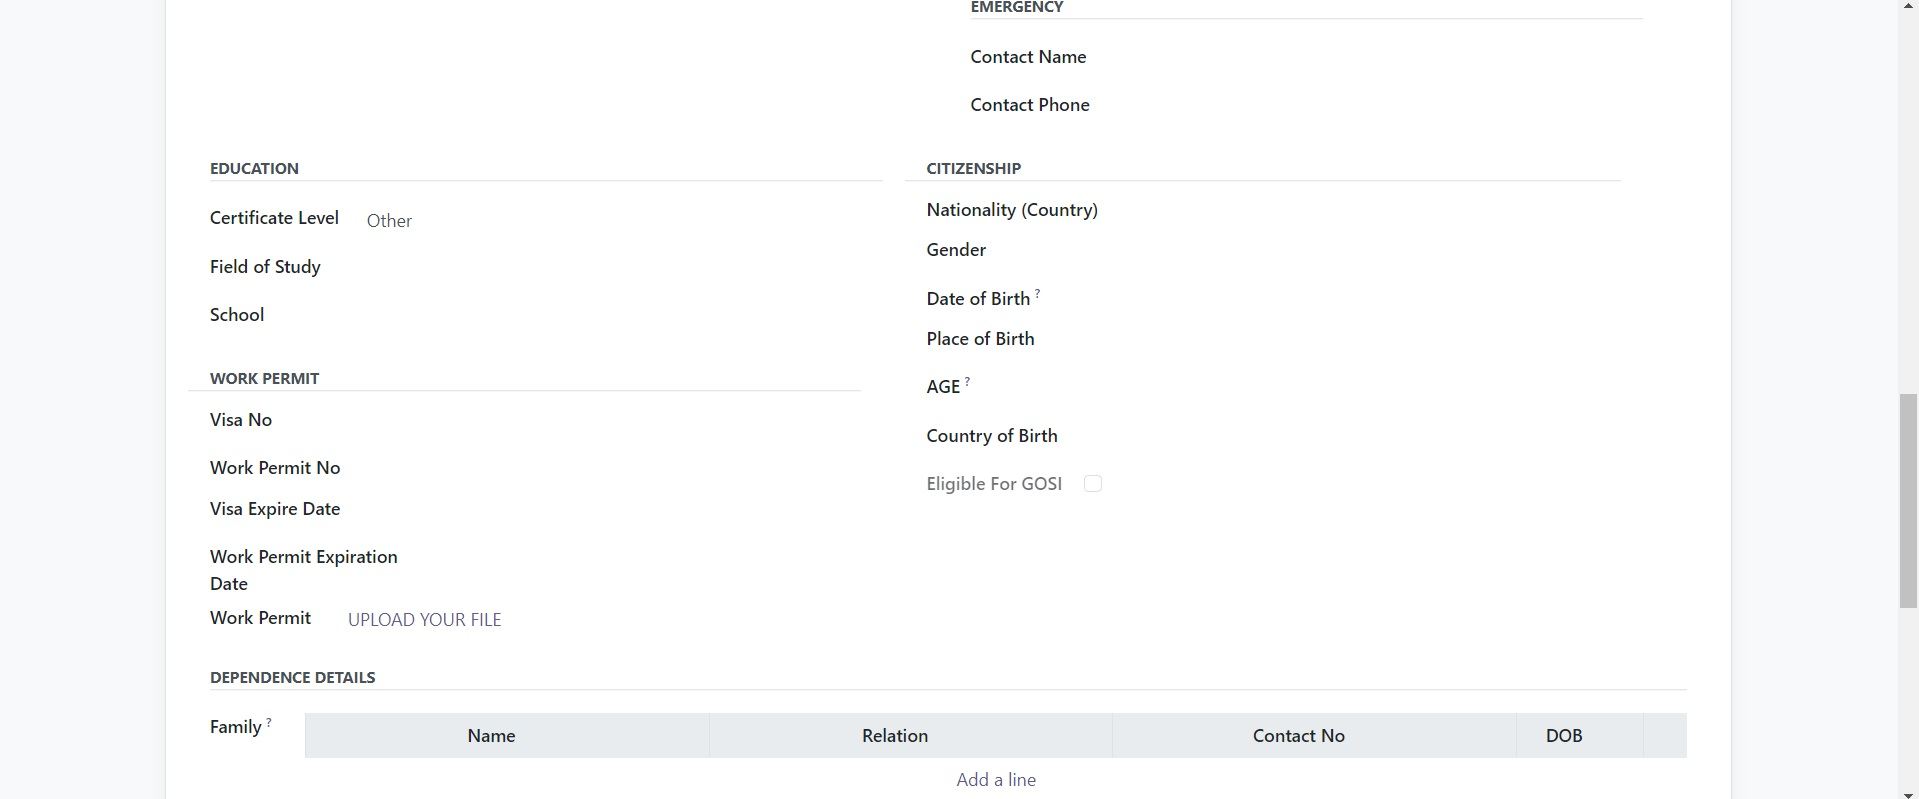
The Education session allows you to define the Certificate Level, Field of Study, School and all the academic achievements of that particular employee. Finally, the Dependence Details can be specified under the Family session of the employee creation window. You can perform it by clicking on the Add a line button available in the session, as highlighted in the image below.
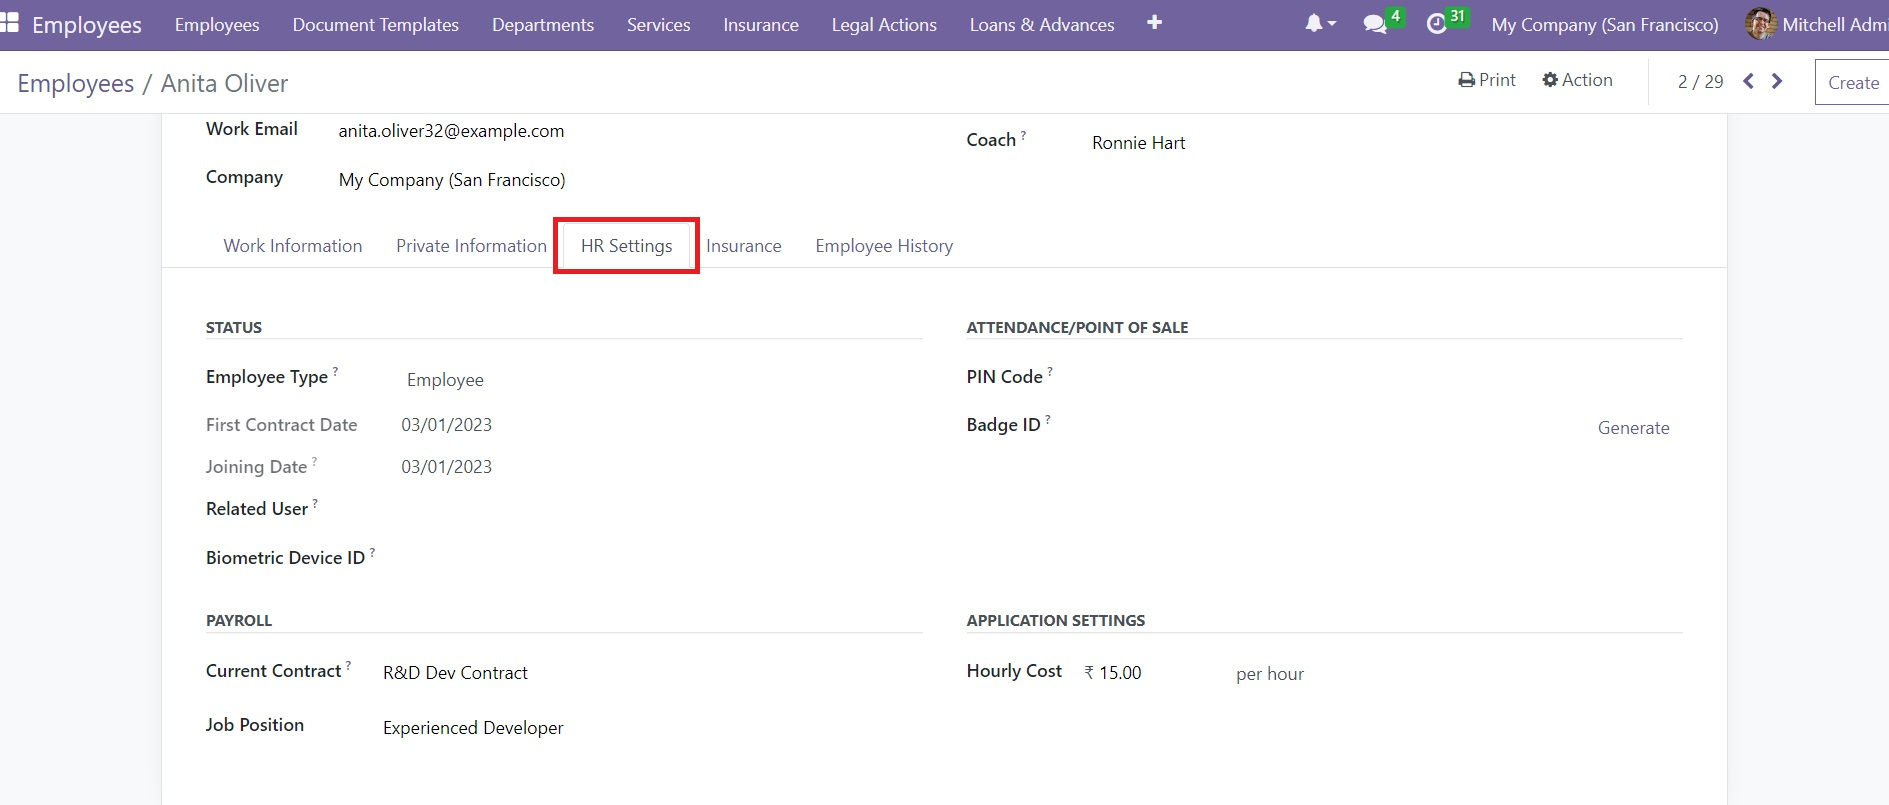
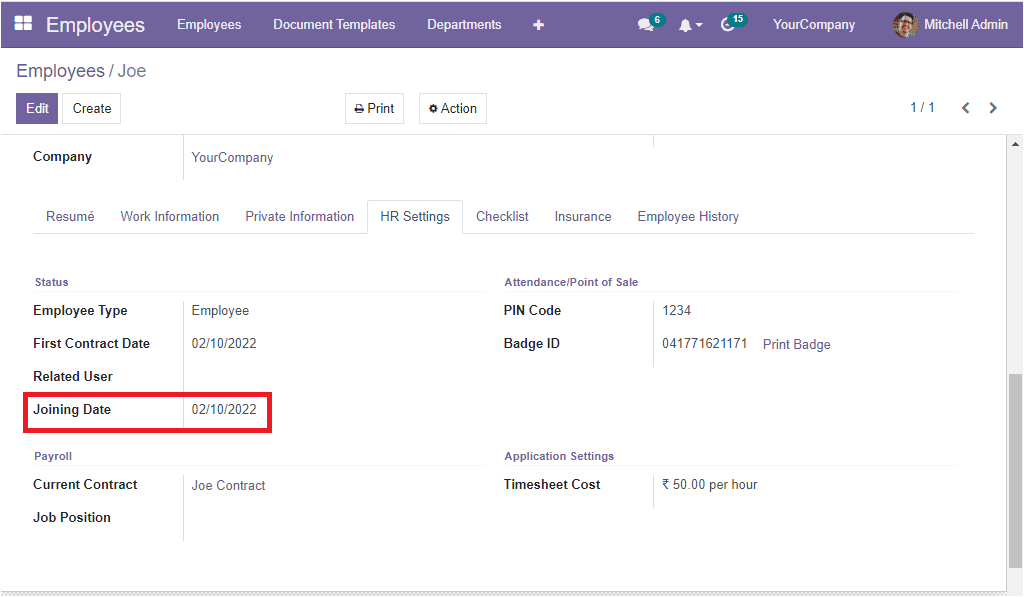
The Employee creation window of the OpenHRMS Employees module also provides you with the provision to configure HR-related information under the HR Settingstab. Here, under the HR Settings tab you will get some additional fields. Here you can see the Joining Datefield. The module allows you to calculate the employee's joining date based on the employee's contract. So let us have a look at how it will work. For that, let us create a contact for ‘Joe’. So we can click on the ‘Contract’ smart tab available at the top of the window.
Now we can create a contract with adequate information. Then we can move the contract to ‘Running’ contract state.
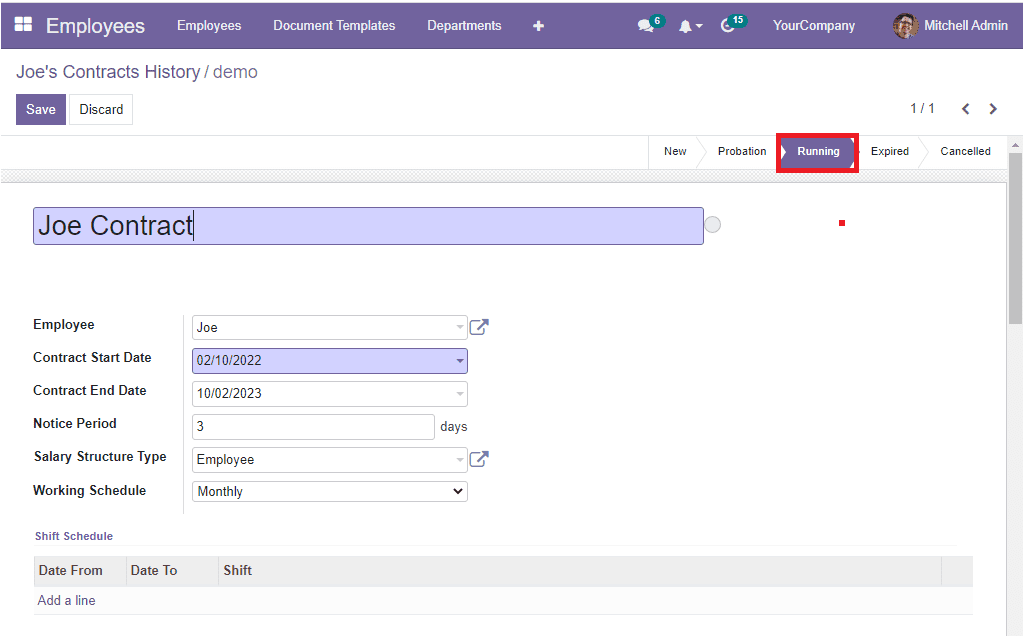
After saving the Contract let us again open the employee(Joe) form. Under the HR Settings, you will be able to see that the Joining Date is automatically displayed on the basis of the contract start date of this employee.
These all are the additional features that will be obtained while we install the Employee Info module into your system.