Open HRMS is an open-source human resource management software that aims the creation of a happier working environment in an organization. This modified version of HR management software offers comprehensive support for all types of operations regarding a company's human resources. The system includes various advanced modules and features which will help to simplify the HR operations. These modules ensure efficient performance in coordinating and managing all employee-related activities, thereby reducing the work pressure.
With the help of the features of Open HRMS, a company can monitor and control all employees from their joining date to their resignation date. During the joining and resignation time of an employee, the HR department of a company has to manage and coordinate several procedures. In order to simplify these procedures and coordinate them, Open HRMS offers the dedicated Employee Checklist module for its users. You will get a checklist to mark the procedures that an employee has to undergo during the joining/resignation time. In short, the entry/exit process of an employee can be easily managed using this module.
This chapter discusses all functionalities of the Open HRMS Employee Checklist module.
The Employee Checklist module can be easily installed from the App Store.
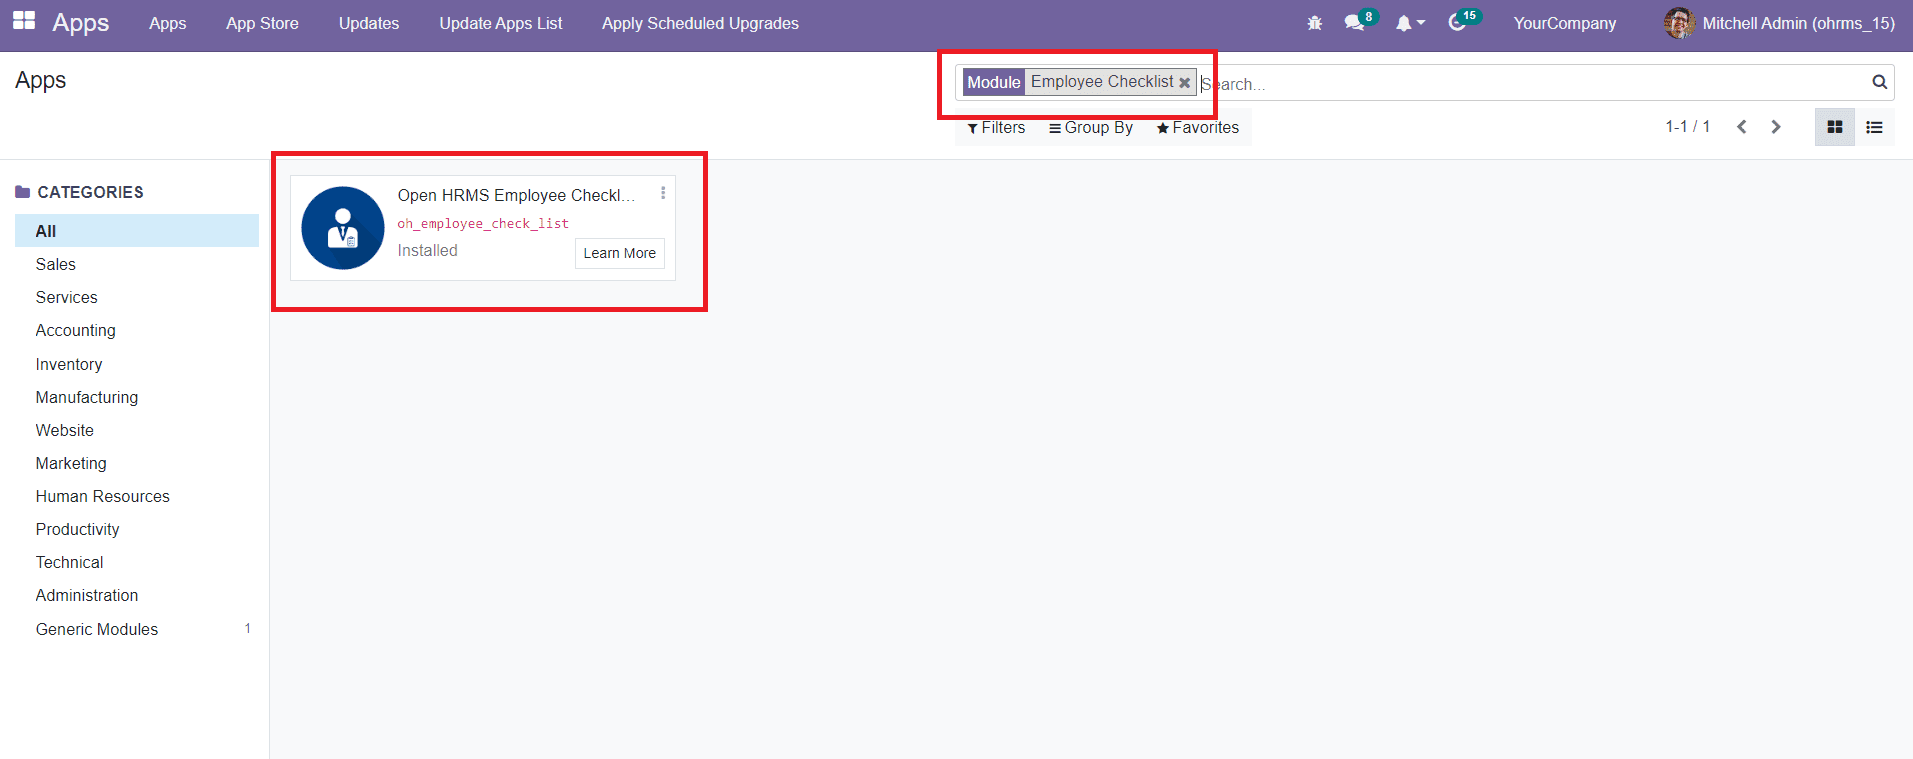
Using the search box will help you to easily locate the module from the App Store. The Install button can be used to install the module. After completing the installation process, the feature of this module will be integrated with the Employee module. So, in order to get access to the features of the Checklist module, you need to go to the Employee module.
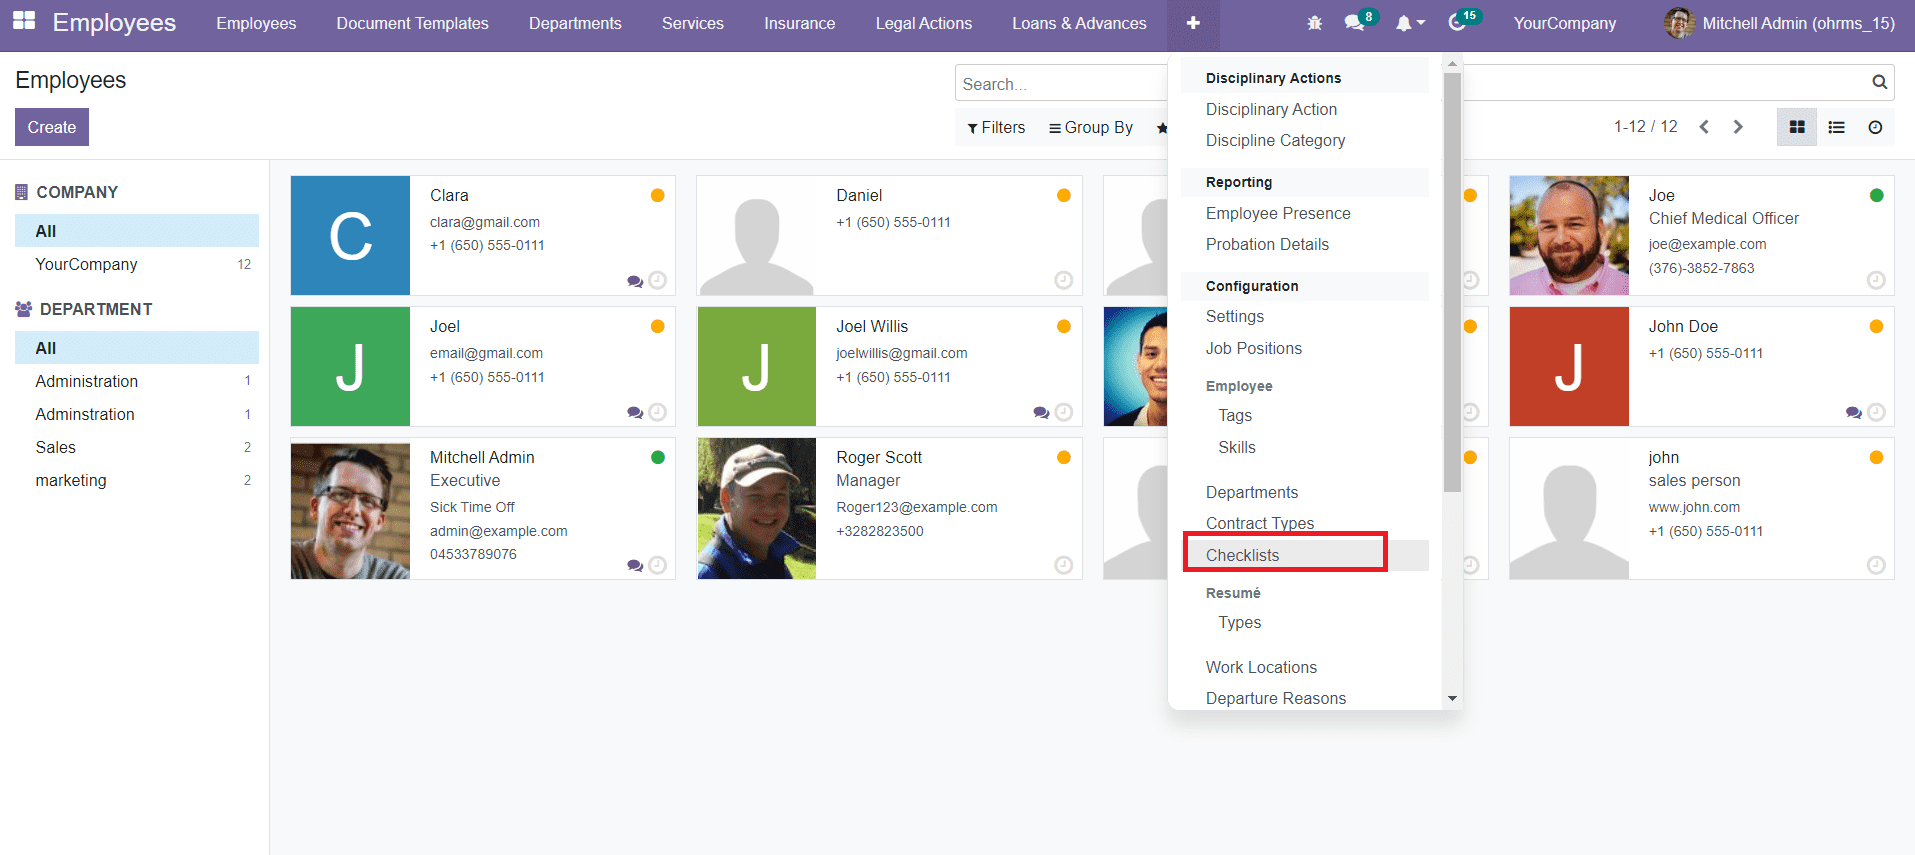
As you can see in the image above, the option for Checklist can be seen under the Configuration menu of the Employee module. The Checklist menu will show all configured checklist items along with the name and checklist type.

Using the Create button, you can easily create a new checklist. Mention the name and a suitable checklist type in the corresponding fields. You can create checklists for the entry process, exit process, and other types of processes on this platform. After creating the required checklists, you can select the profile of the employee from the Employee module who is undergoing the entry/exit process.
As you can see in the image below, the profile will show two kinds of progress bars such as Entry Progress and Exit Progress.
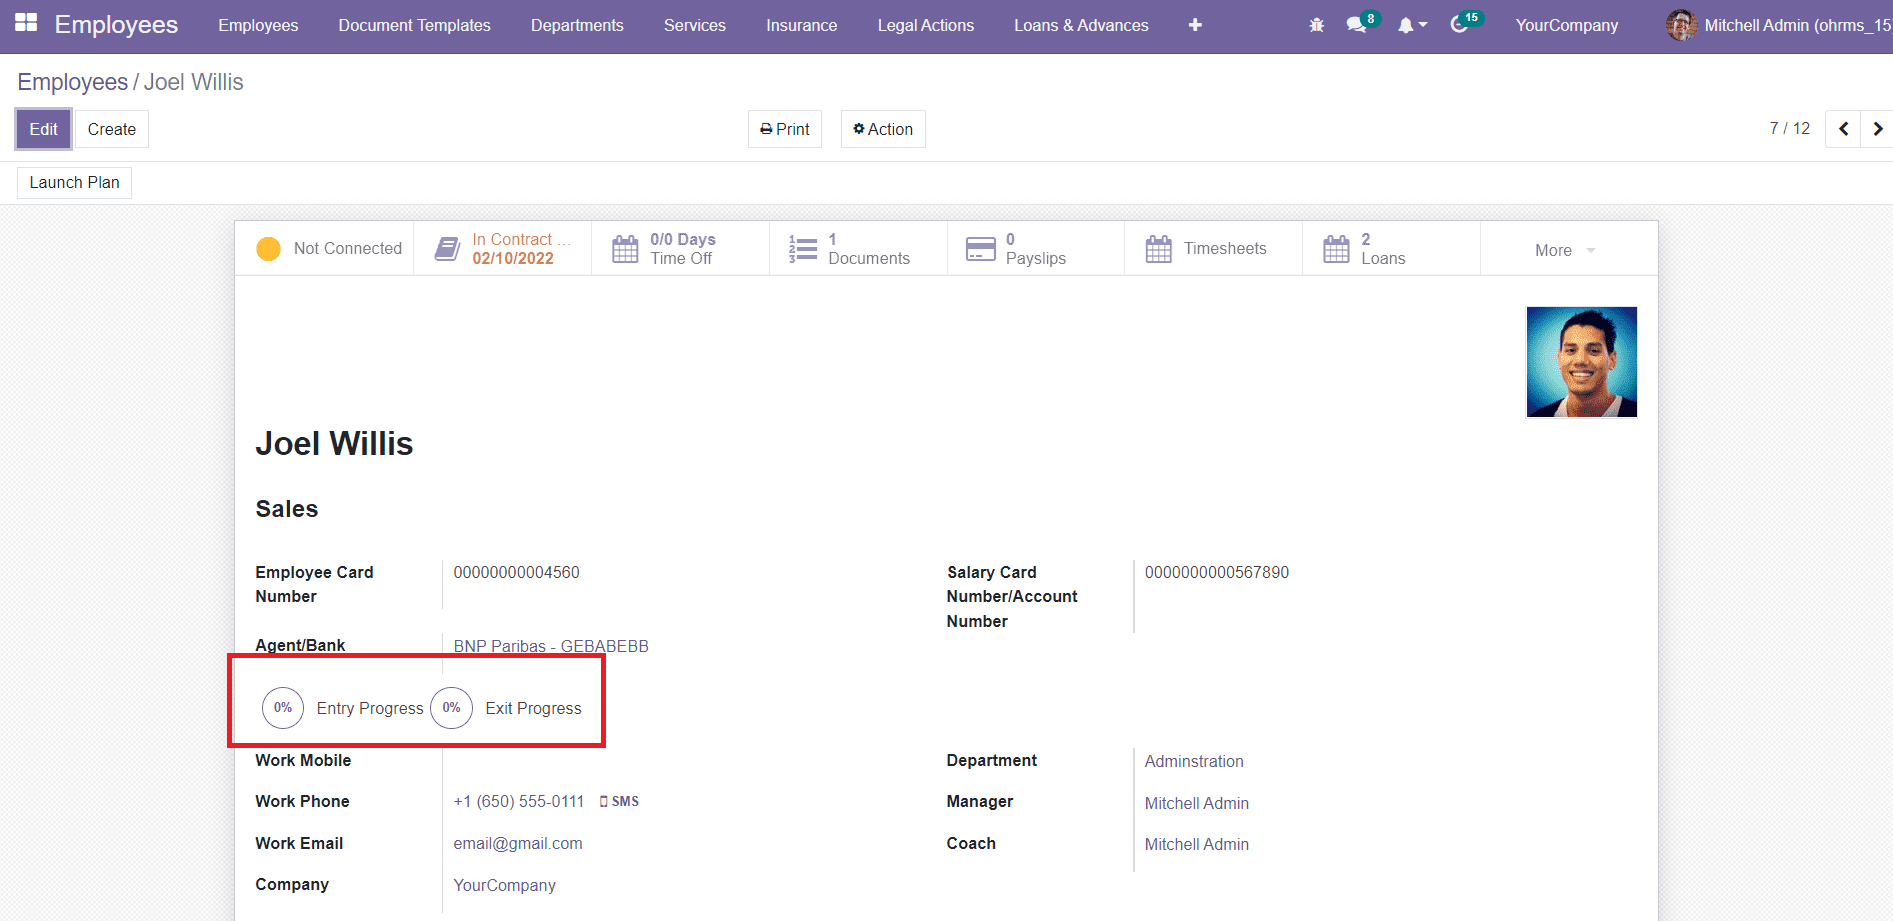
By marking the specified checklists of the employee, the progress bar will change from 0 to 100%. You will be able to find the checklists of the employee under the Checklists tab.

This tab will show a separate list of checklists to mark under Entry Process and Exit Process. If the employee is going through the joining process, then you can mark the checklist under the Entry Process. The checklist can be marked using an onboarding or offboarding plan. Here, this employee is in the joining process. So, you can launch an onboarding plan by clicking on the Launch Plan button.
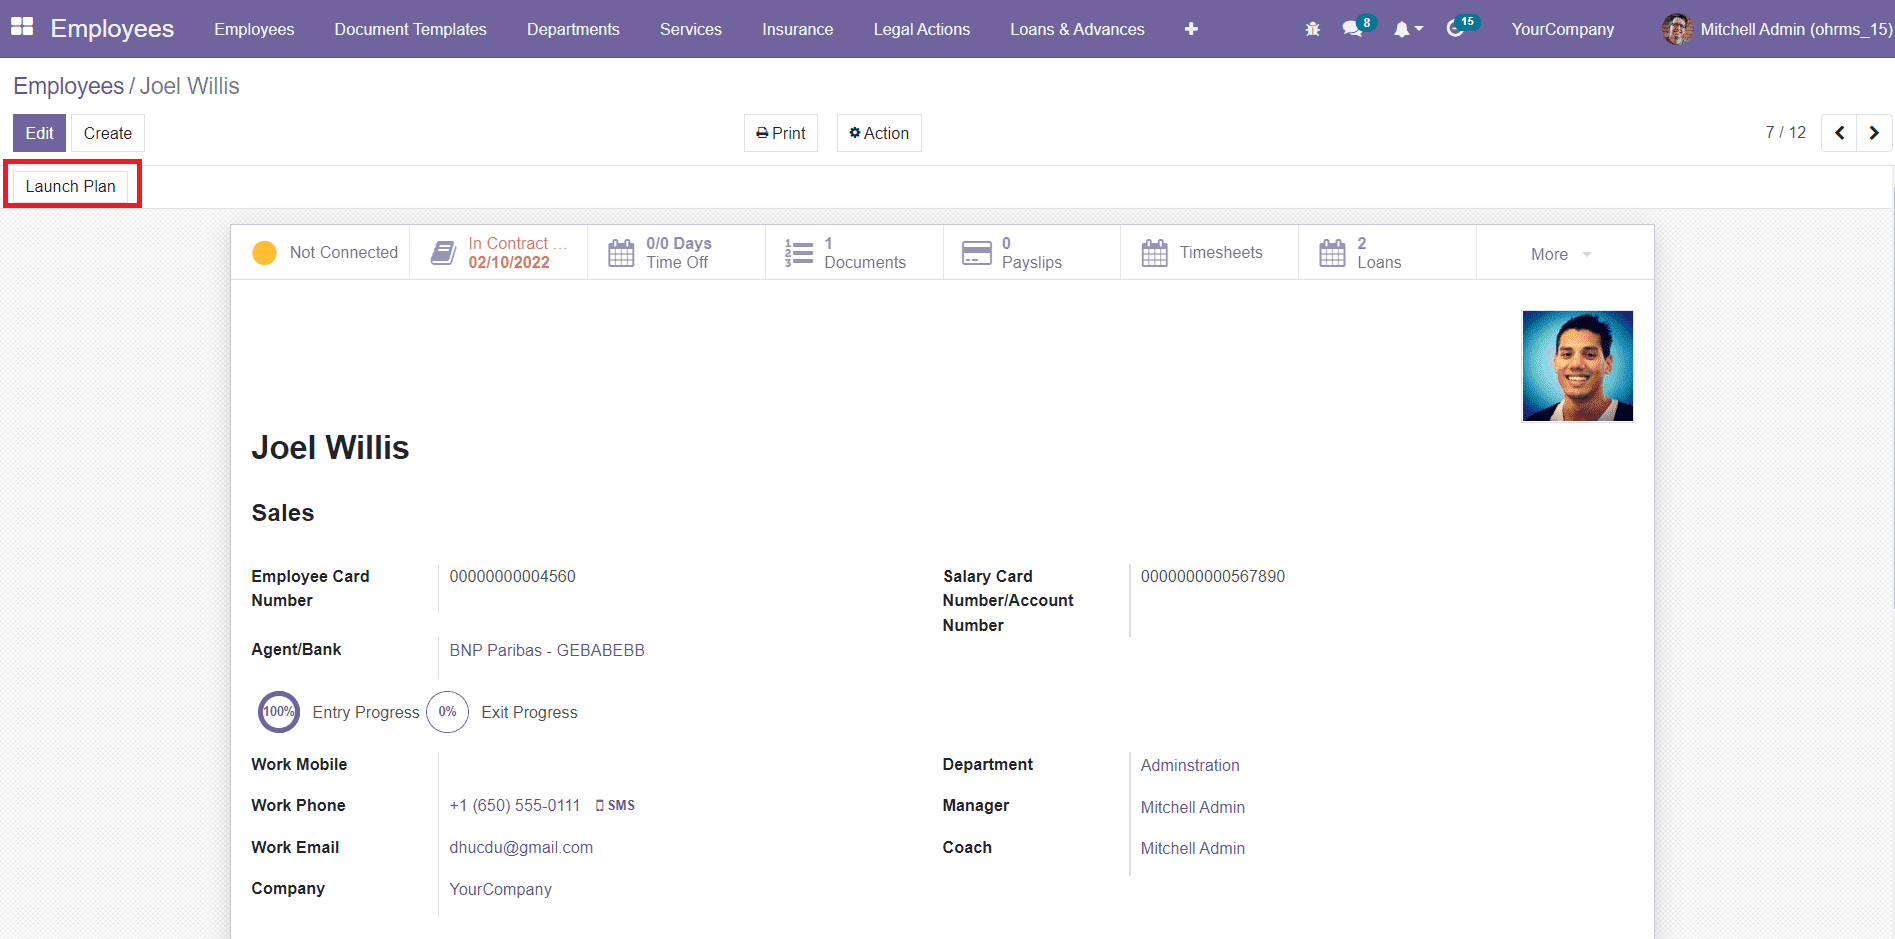
As soon as you click on this button, a new wizard will appear where you can select the onboarding plan.

Check the selected plan to make sure that it includes checklists in its activity list.
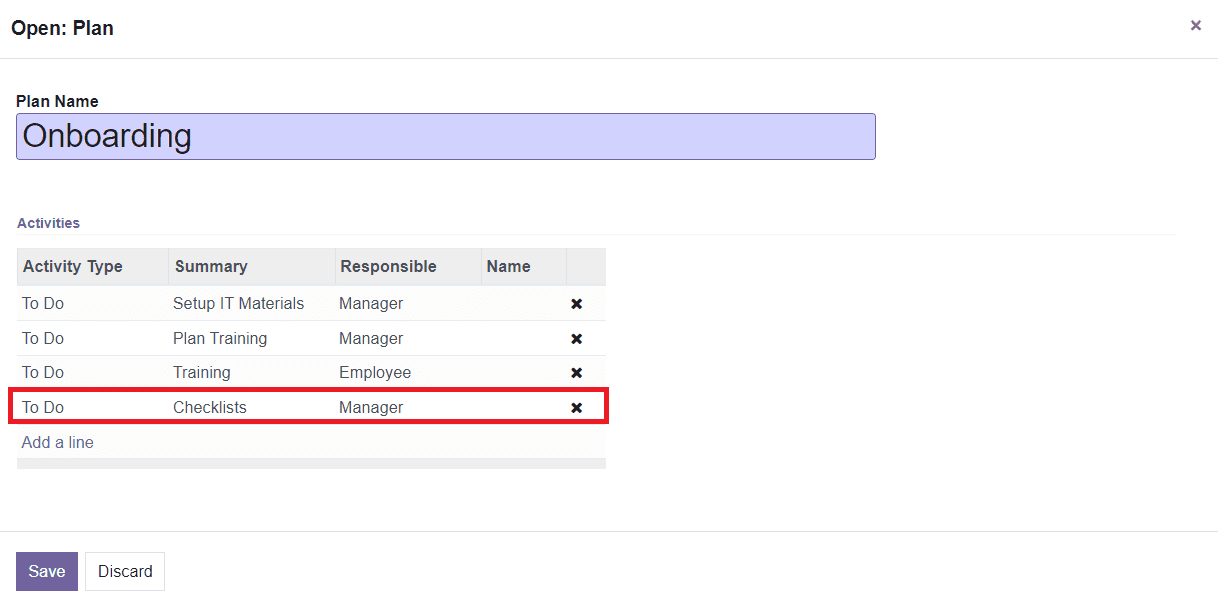
After confirming the activities, you can now click on the Launch Plan button. Now, the employee is on an onboarding plan. You can mark the checklist of the employee when the onboarding plan triggers the scheduled activities. In the same method, you can mark the checklist of the Exit Process by adding the checklist in the Offboarding Plan at the time of resignation of the employee.